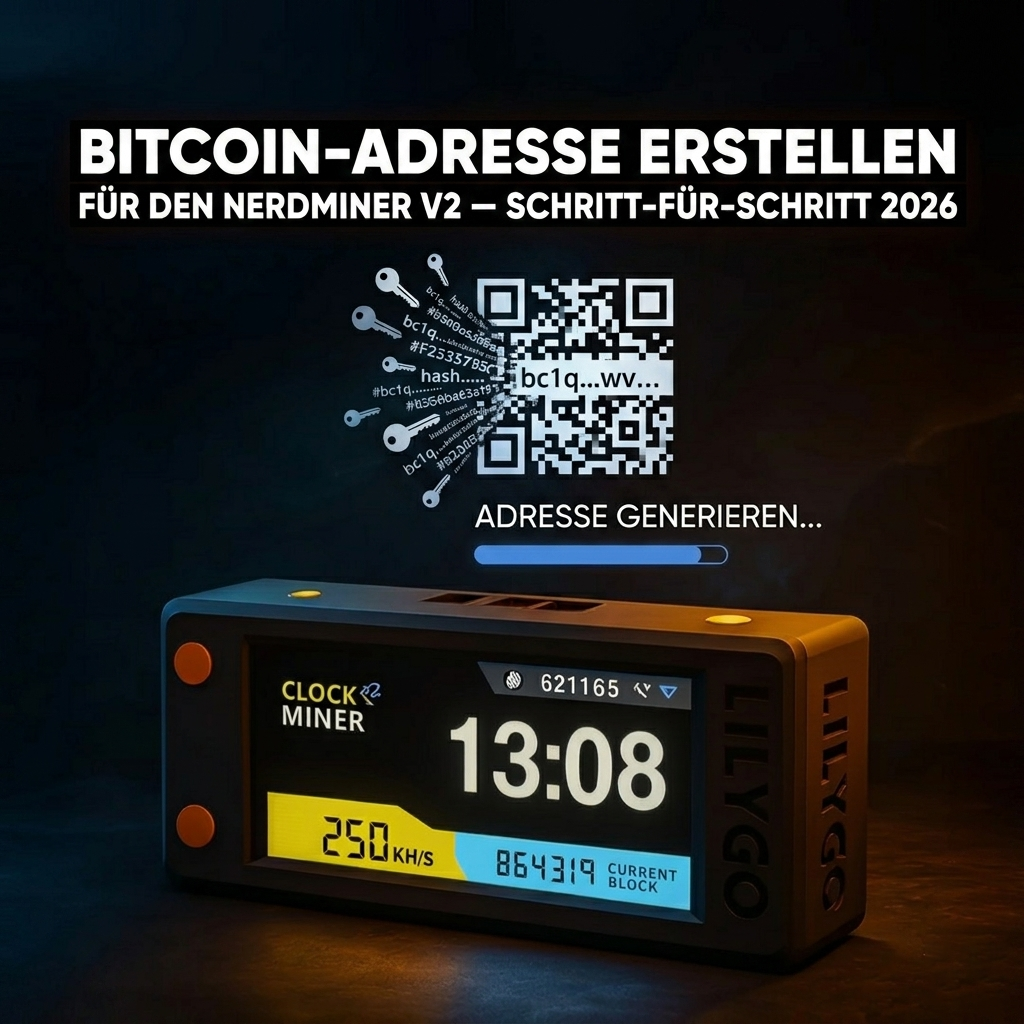
Your solo miner is in front of you — a Nerdminer V2, a NerdNOS or another small solo mining device — and between "plug in USB" and "my own block" stands exactly one hurdle that beginners almost always trip over: you need a bitcoin address of your own. Without it no solo miner runs, because the stratum pool would not know where to send a possible block reward.
The good news: getting a valid bitcoin address is free, takes under 10 minutes, and the process is identical for every solo miner. This guide shows which address format your device accepts, how to get one in a few steps and how to enter it correctly. Every technical detail here is checked against the official NerdMiner_v2 documentation, the NerdNOS firmware (nerdnos branch of NerdMiner_v2), the bitcoin BIP-173 specification (Bech32) and the public pool data on mempool.space.
Short answer
Which bitcoin address does your solo miner need?
For solo mining with a Nerdminer V2, a NerdNOS or a BitAxe you need your own on-chain bitcoin address in the format bc1q… (native SegWit, BIP-173). You get one free in under 10 minutes at a MiCA-regulated exchange such as Finst, without buying a single euro of bitcoin, and you enter it in your miner's "BTC Address" field. A Taproot address (bc1p…) does not work on the Nerdminer V2.
Why do you need a bitcoin address at all?
Whether it is a Nerdminer V2 (ESP32, around 250 kH/s) or a NerdNOS (BM1397 ASIC, 80-130 GH/s), both do real bitcoin solo mining through a public stratum pool such as public-pool.io. If your device finds a valid block, the block reward (currently 3.125 BTC plus the transaction fees of every transaction in the block) is transferred in the so-called coinbase transaction straight to the address you entered in the miner's configuration. Without that address there would be nobody to receive the reward, which is why the pool rejects the worker as soon as it connects.
In short: the bitcoin address is your inbox for a potential reward. It has to belong to you, not to the seller, not to the pool, not to anyone else. The bitcoin network sends the amount there by protocol as soon as the block is confirmed.
What exactly is a bitcoin address?
A bitcoin address is a string of letters and numbers, rather like an IBAN but with more characters and a built-in error check. Behind every address sits a private key that works like a password: whoever holds the private key controls all the bitcoin at that address. The address itself you can share freely; it is only the inbox, not the key to the safe.
Worth understanding: the address itself holds no bitcoin. It is only an account marker on the public blockchain. Every payment to an address is publicly visible, and anyone can look up on mempool.space how much bitcoin has flowed to a particular address.
Which address formats does your solo miner accept?
Bitcoin has introduced several address formats over the years, each with different transaction efficiency and compatibility. Not every one works with every solo miner. This overview shows what to use:
| Prefix | Encoding | Name | Solo miner (V2 / NerdNOS) |
|---|---|---|---|
1… |
Base58 | Legacy (P2PKH) | Usually works |
3… |
Base58 | Nested SegWit (P2SH) | Works |
bc1q… |
Bech32 | Native SegWit (P2WPKH) | ✓ Recommended for every device |
bc1p… |
Bech32m | Taproot (P2TR) | ✗ Nerdminer V2: not supported |
Rule of thumb: always choose bc1q (native SegWit, Bech32 per BIP-173). That keeps you safe on every solo miner, whether Nerdminer V2, NerdNOS or BitAxe. If you accidentally get a Taproot address (bc1p…), the Nerdminer V2 rejects it. Most modern exchanges and wallets let you choose the format when receiving; pick native SegWit.
Three ways to get a bitcoin address
Broadly there are three options for getting a valid receiving address, each with its own trade-offs:
- A regulated crypto exchange — the simplest route for beginners. Register, verify your identity (KYC by video ident), get a receiving address immediately. The exchange holds the bitcoin for you (custodial).
- A software wallet (self custody) — an app such as BlueWallet, Sparrow or Electrum generates a private key that only you control. Full control, and full responsibility for the backup and seed phrase.
- A hardware wallet (self custody, maximum security) — a physical device such as a BitBox02, Coldcard or Trezor keeps the key offline. The safest option, but it costs €50-200.
For getting started with a solo miner, where the appeal lies in following along — small amounts day to day while your device could land the big block find at any moment — option 1 is the most beginner-friendly. We explain it using Finst as the example.
Recommended for beginners
The quickest route: Finst (MiCA regulated, 0.15 % fee)
After KYC verification Finst gives you a native SegWit bitcoin receiving address free of charge. No purchase needed; you can use the address directly in any solo miner.
Register free at Finst →Option 1: creating a bitcoin address with Finst, step by step
Why Finst (and not Binance, Coinbase or Bitpanda)?
Finst is a Dutch crypto exchange based in Amsterdam (Finst B.V.). Three concrete reasons why we currently recommend Finst for solo mining beginners in German-speaking Europe:
- MiCA licence (AFM regulated): Finst was one of the first platforms with a MiCA licence from the Dutch financial regulator AFM (licence number 41000015). MiCA is the EU-wide crypto regulation (regulation 2023/1114), with strict consumer protection and transparency requirements that apply directly to customers here.
- 0.15 % fee per trade: considerably cheaper than most beginner brokers. For comparison: Coinbase Consumer 1.5-3 %, Bitpanda 1.49 %, Bitvavo 0.25 %. For a pure receiving address the fee is irrelevant anyway; receiving bitcoin (from a block find, for example) is always free at reputable exchanges.
- Proof of reserves: Finst is currently the first and only Dutch platform with independently audited proof-of-reserves verification (by Audit Now). Which means all customer funds are demonstrably held 1:1 and separated from company assets.
Alternatives in German-speaking Europe: Bitvavo (NL, similar setup but no independently audited proof of reserves yet), Bitpanda (AT, higher fees, broader portfolio), Coinbase (US, higher consumer fees), Kraken (US, solid but a more complex interface). In our view Finst has the best mix of low fees, strict EU regulation and a beginner-friendly experience.
-
Registration (about 3 minutes)
Open finst.com and click "create account". You only need an email address and a secure password (at least 12 characters, mixing upper and lower case, numbers and symbols). Confirm your email through the link from Finst and you are in the dashboard.
-
Identity verification / KYC (about 5 minutes)
Because of the EU anti-money-laundering directive (AMLD5) and the MiCA regulation, Finst has to verify your identity. That happens by video ident in the browser or in the Finst app. You need a valid ID card or passport, a camera and about 5 minutes. Your account is active immediately after successful verification.
-
Generate the bitcoin receiving address (about 1 minute)
In the Finst dashboard click "deposit" and choose bitcoin (BTC). Finst shows your personal receiving address. It should begin with
bc1qand be about 42 characters long. Copy it and also save it in your password manager, so you have it to hand when you reconfigure the miner later.
Important: receiving addresses rotate at some providers. The old addresses stay valid, though: bitcoin sent to an earlier address is still credited to your account. So you can leave the address you received once in the miner permanently.
Entering the bitcoin address in the miner (Nerdminer V2, NerdNOS and others)
The setup process is practically identical on the Nerdminer V2 and the NerdNOS; both open a configuration network on first start. Here is the short version, with the detailed device-specific guides covering every single field linked below.
-
Connect the miner to USB power
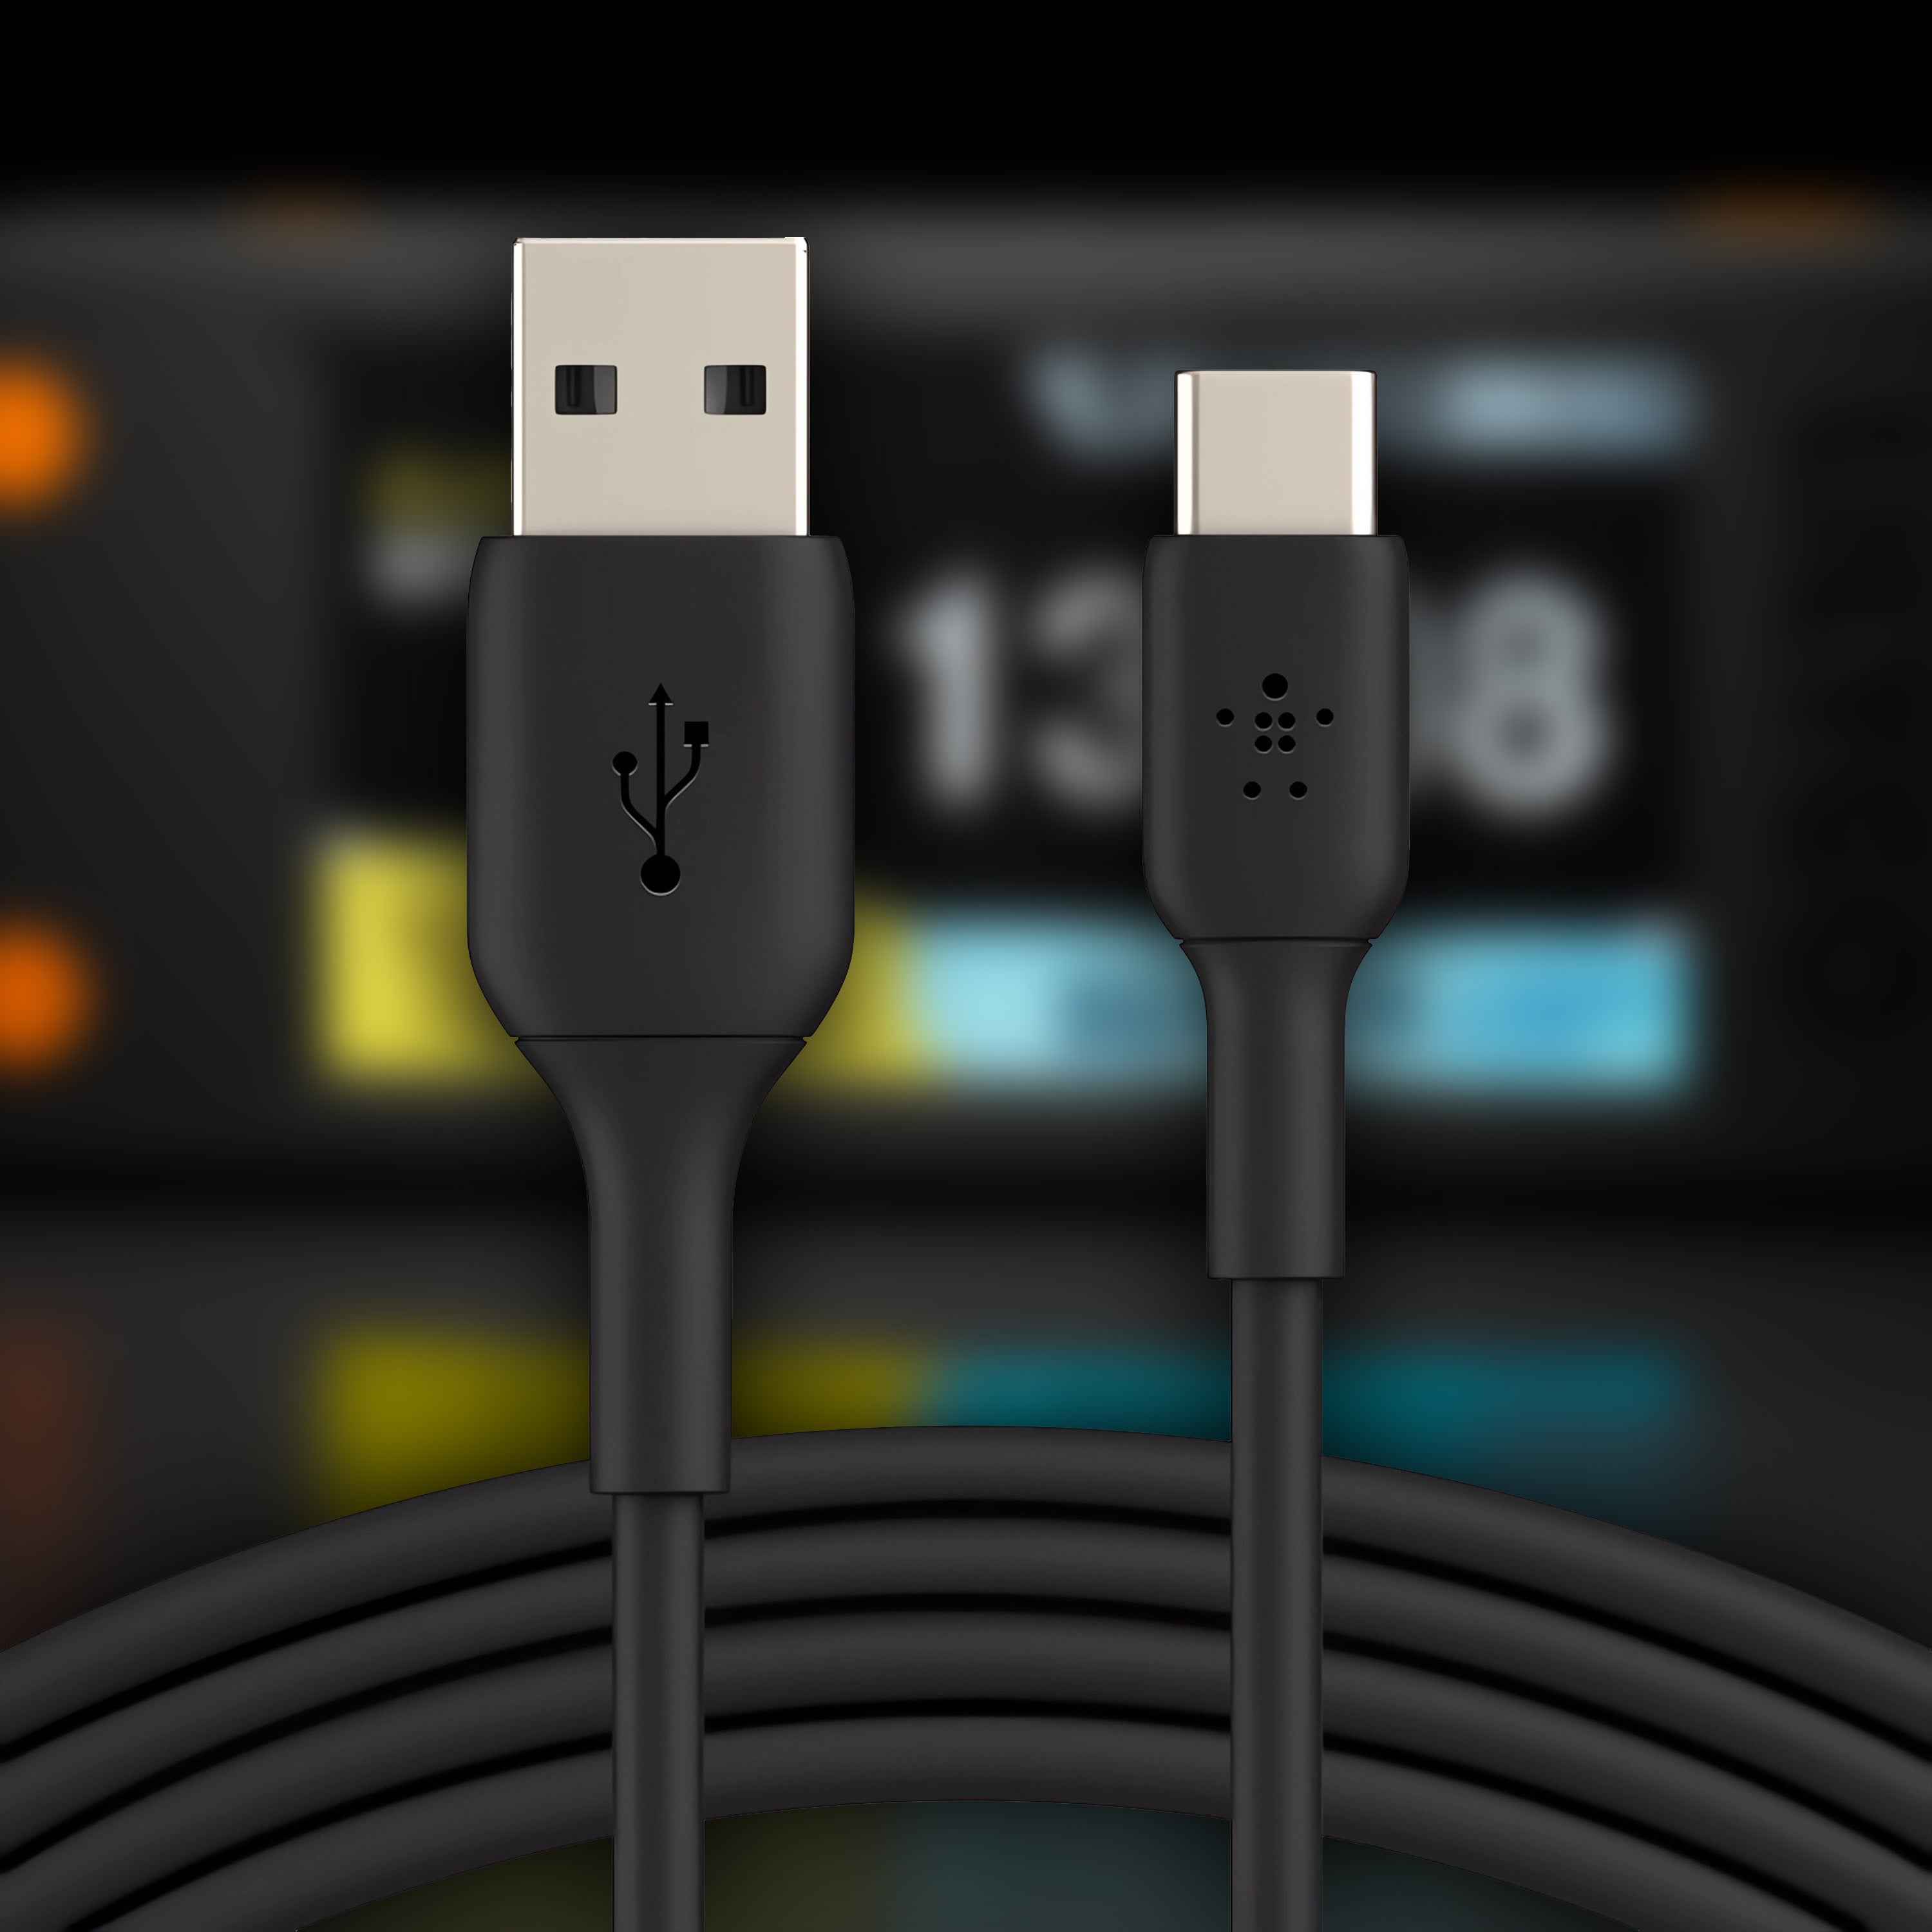
Connect the miner over a USB-C data cable (not a charge-only cable) to a charger, power bank or laptop. The NerdNOS needs at least 2 A. The display and power LED show setup mode with a QR code after a few seconds.
-
Connect to the setup network
Both devices broadcast a configuration network called
NerdMinerAP(depending on firmware alsoNerdMiner_xxxxxx). Connect your phone or laptop to it. If a password is requested, useMineYourCoins. -
Open the configuration page
The page usually opens automatically through a captive portal. If it does not, enter
192.168.4.1in the address bar. You will see the setup form with SSID, Wi-Fi password, BTC Address, Pool URL and Pool Port. -
Paste the bitcoin address
Paste your bc1q address into the "BTC Address" field. Check carefully that no character is missing: bitcoin addresses carry a built-in checksum (Bech32), and a single wrong letter breaks the pool connection.
-
Enter the Wi-Fi details and save
Enter your home Wi-Fi details (SSID and password, on the 2.4 GHz network) and leave the pool URL and port at their defaults:
public-pool.io, port21496. Click "save". The miner restarts, connects and mines straight away. The display shows live hash rate, the current block height and the stratum connection.
Complete device-specific guides:
No bitcoin address yet? Ready in under 10 minutes at Finst.
Registration, KYC and receiving address in one go. No bitcoin purchase needed, the address is free.
Create a free account at Finst →What happens if your miner finds a block?
Suppose your solo miner really does find a block (statistically rare, but in the documented solo pools a hobby miner somewhere in the world finds one again and again). Then this happens, in order:
- Block found — your miner computes a valid block hash and submits it to public-pool.io.
- The pool verifies and forwards it — the pool checks the block and sends it to the bitcoin network. Nodes worldwide accept it.
- Coinbase transaction — the first transaction in the new block transfers the block reward, currently 3.125 BTC plus transaction fees, to the bitcoin address you configured.
- 100-block confirmation — bitcoin protects coinbase rewards with a waiting period: 100 further blocks have to be found before the reward can be spent (about 16 to 17 hours). That rule is in the bitcoin protocol itself.
- Automatic credit — once the 100 blocks have passed the amount is available. At Finst it appears automatically in your account's bitcoin wallet. You can hold it, exchange it or withdraw it in euros by SEPA.
So there is nothing to collect actively. The process runs by itself once the block is confirmed and the 100-block maturity is reached.
Security notes and good practice
Your bitcoin address is NOT secret
Receiving addresses can be shared publicly without concern. They contain no hint of your private key. You can show your miner address in screenshots or post it in forums with no security risk. (Privacy note: anyone who knows the address can see on mempool.space how much bitcoin has flowed to it. For maximum privacy you use a fresh address per payment, which is not practical for solo mining.)
The private key and the seed phrase ARE secret
Never share: your private key, your seed phrase (12 or 24 words) or your Finst password. Whoever holds one of them has full access. Reputable providers never ask for your password or seed phrase by email, phone or chat; any such request is phishing.
Turn on two-factor authentication
Enable 2FA immediately after registering, ideally through an authenticator app (Aegis, Raivo, 1Password, Authy) rather than SMS. SMS 2FA is vulnerable to SIM swapping and is no longer recommended for crypto accounts.
Advanced: self custody as an upgrade
If you later want to hold bitcoin long term, you can move to self custody at any time: (1) set up a software or hardware wallet, (2) generate a new receiving address, (3) reconfigure the miner. Our guide to changing the miner configuration covers changing the address too.
Frequently asked questions
Does this guide apply to the NerdNOS and the BitAxe as well?
Yes. The bitcoin address needed is the same on every solo miner: an on-chain address in bc1q format. The setup process (setup network NerdMinerAP, password MineYourCoins, the "BTC Address" field) is practically identical on the Nerdminer V2 and the NerdNOS. Only the hardware differs (V2: ESP32, NerdNOS: BM1397 ASIC with the NerdNOS firmware).
Do I have to use Finst, or will another exchange or wallet do?
No. You can use any wallet or exchange that provides a native SegWit address (bc1q). We recommend Finst for the reasons given (MiCA licence, 0.15 % fee, proof of reserves), but technically any compatible address works.
Do I have to buy bitcoin to use the address?
No. You get the receiving address free immediately after KYC verification, whether or not you ever buy bitcoin. So you can obtain a valid address and enter it in the miner without spending a euro.
Which address format do I need exactly?
Native SegWit, meaning an address that begins with bc1q. Legacy (1…) and nested SegWit (3…) usually work too, but bc1q is the most efficient standard format. Taproot (bc1p…) is not supported by the Nerdminer V2.
Can I point several miners at the same bitcoin address?
Yes, and it is even recommended. At public-pool.io all workers on the same address are treated as one shared mining session, so your block chance adds up across the devices. The display often shows the number of simultaneous workers and the combined hash rate.
Does my solo miner support Lightning addresses?
No. Solo miners like the Nerdminer V2 and the NerdNOS mine on the bitcoin base layer through the stratum pool. Lightning addresses (name@lightning.address) and LNURL do not work; you need a classic on-chain address in bc1q format.
What if my address happens to start with bc1p?
That is a Taproot address (P2TR), which the Nerdminer V2 does not accept. The fix: create a new receiving address at Finst or in your software or hardware wallet, choosing native SegWit (Bech32, bc1q) as the address type.
How long does a euro withdrawal take at Finst?
As soon as you place a sell order the euro amount is available in your Finst account immediately. The subsequent SEPA transfer to your German, Austrian or Swiss bank account usually takes 1 to 2 working days.
Conclusion: ready in under 10 minutes
The steps once more, identical for the Nerdminer V2, the NerdNOS and every other solo miner:
- Create a Finst account (3 min, free)
- Complete KYC by video ident (5 min)
- Get the bitcoin receiving address in the deposit area (1 min); it has to start with
bc1q - Connect the miner to USB, open the setup network, paste the address, enter the Wi-Fi details (1 min)
- Save; from now on the miner runs 24/7 and mines on the bitcoin network
That is all there is to it. Whether your device ever finds a block is down to probability; until then you get live hash rate, block updates and difficulty straight from the bitcoin network on your display. And if it does happen, the full block reward of 3.125 BTC is yours, transferred automatically to the address you set up today.
Ready for your first bitcoin address?
Finst is MiCA regulated (AFM licence 41000015), offers proof of reserves, and costs €0 for opening an account and getting a receiving address.
Start free at Finst now →MiCA regulated · proof of reserves · 0.15 % fee · SEPA payout in 1 to 2 working days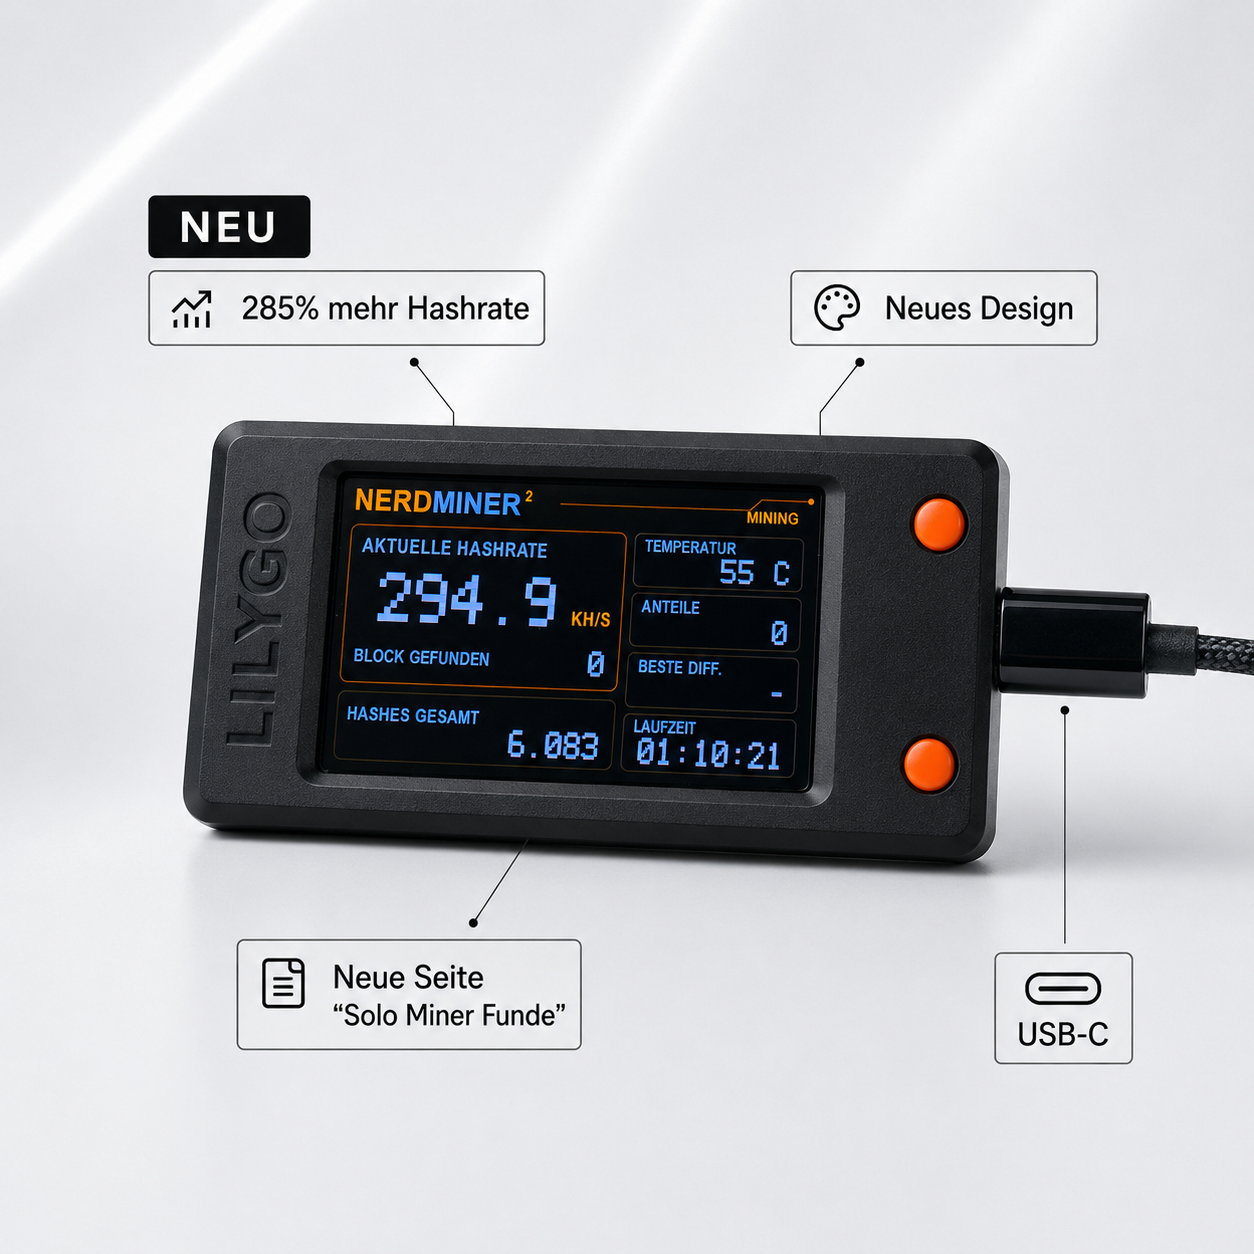


Share: