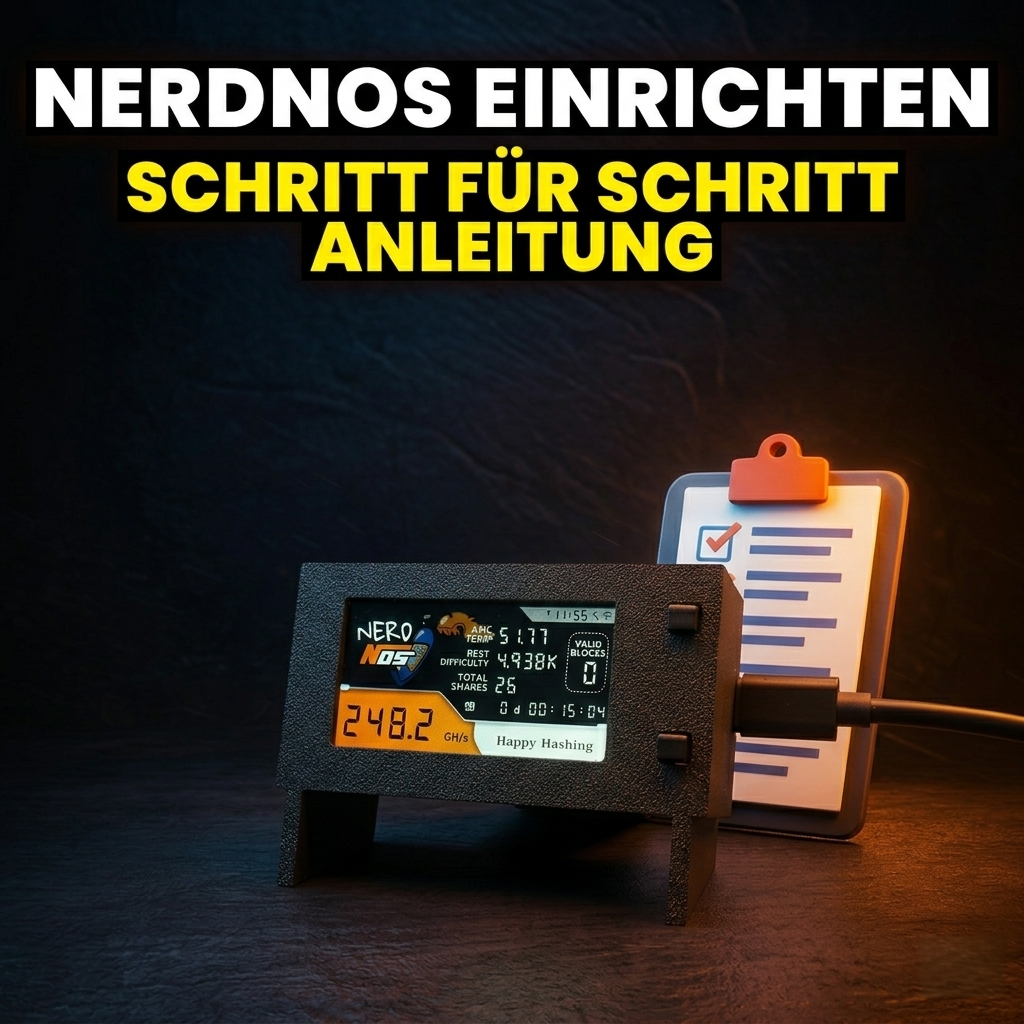
The NerdNOS is a solo bitcoin miner with a real ASIC chip, compact enough for a desk and quiet enough for a living room. This guide takes you through the current setup in 7 steps using the free Hashlink app: from plugging it in to mining. Total time: around 5 minutes. All you need is your phone, no cable to a PC, no terminal, no prior knowledge.
Plug the NerdNOS in and wait until the display shows Setup via Hashlink App or WiFi with a QR code. Scan the QR code, install and open the Hashlink app, choose Add device → BLE Setup and tap the NerdNOS-… entry. Then enter your 2.4 GHz Wi-Fi and replace the pre-filled test address with your own bitcoin address, so that any reward lands in your wallet. Tap Apply Configuration, the device restarts and starts mining on its own.
You need a bitcoin address of your own
Without your own bitcoin address there is no point finishing the setup, because that field is exactly where 3.125 BTC (around €195,000) would go if you found a block. Do not have one yet? We recommend a free account at eToro (EU-regulated), where you'll find your receive address in the eToro wallet, without having to buy any bitcoin. Prefer a wallet that only you control? Then Tangem, 10% off through our link.
eToro risk warning: Your capital is at risk. Crypto assets are highly volatile, other fees and taxes may apply.
Affiliate links · no extra cost to you. Crypto assets are highly volatile and a total loss is possible. Any other wallet of your own works too (Sparrow, BlueWallet, Trezor).What you need (2-minute check)
-
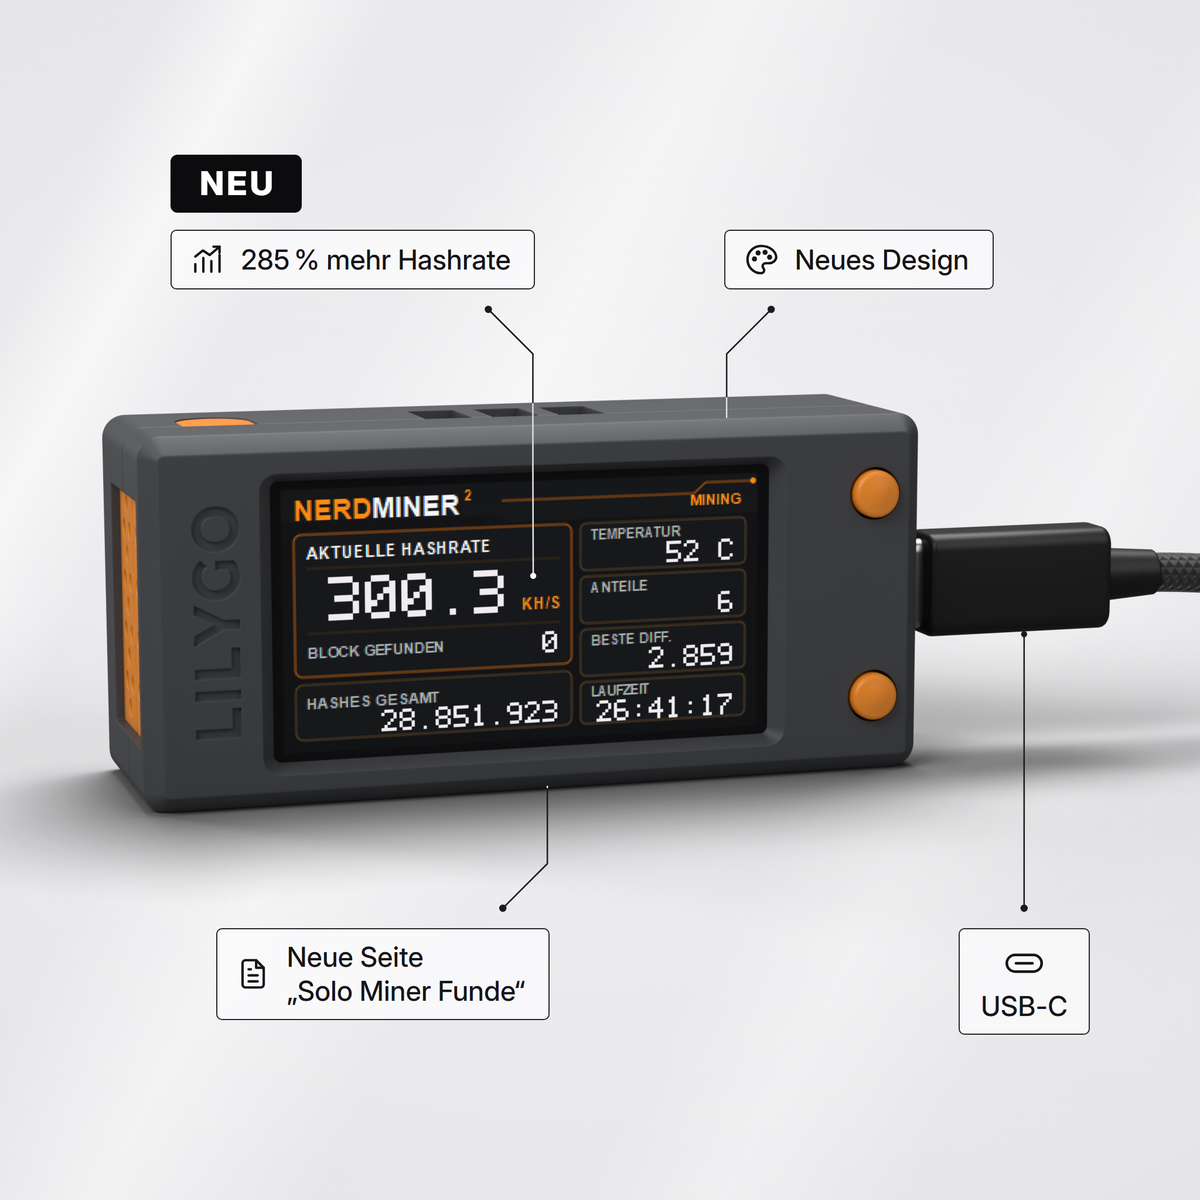
The NerdNOS complete set with the 5 V adapter and USB-C cable in the box
-
A phone with the free Hashlink app and Bluetooth switched on, for the setup
-
2.4 GHz Wi-Fi in range (the NerdNOS physically does not support 5 GHz Wi-Fi, FritzBox guide · Wi-Fi troubleshooting)
-
eToro risk warning: Your capital is at risk. Crypto assets are highly volatile, other fees and taxes may apply.
The setup in 7 steps
-
Plug the NerdNOS in and wait
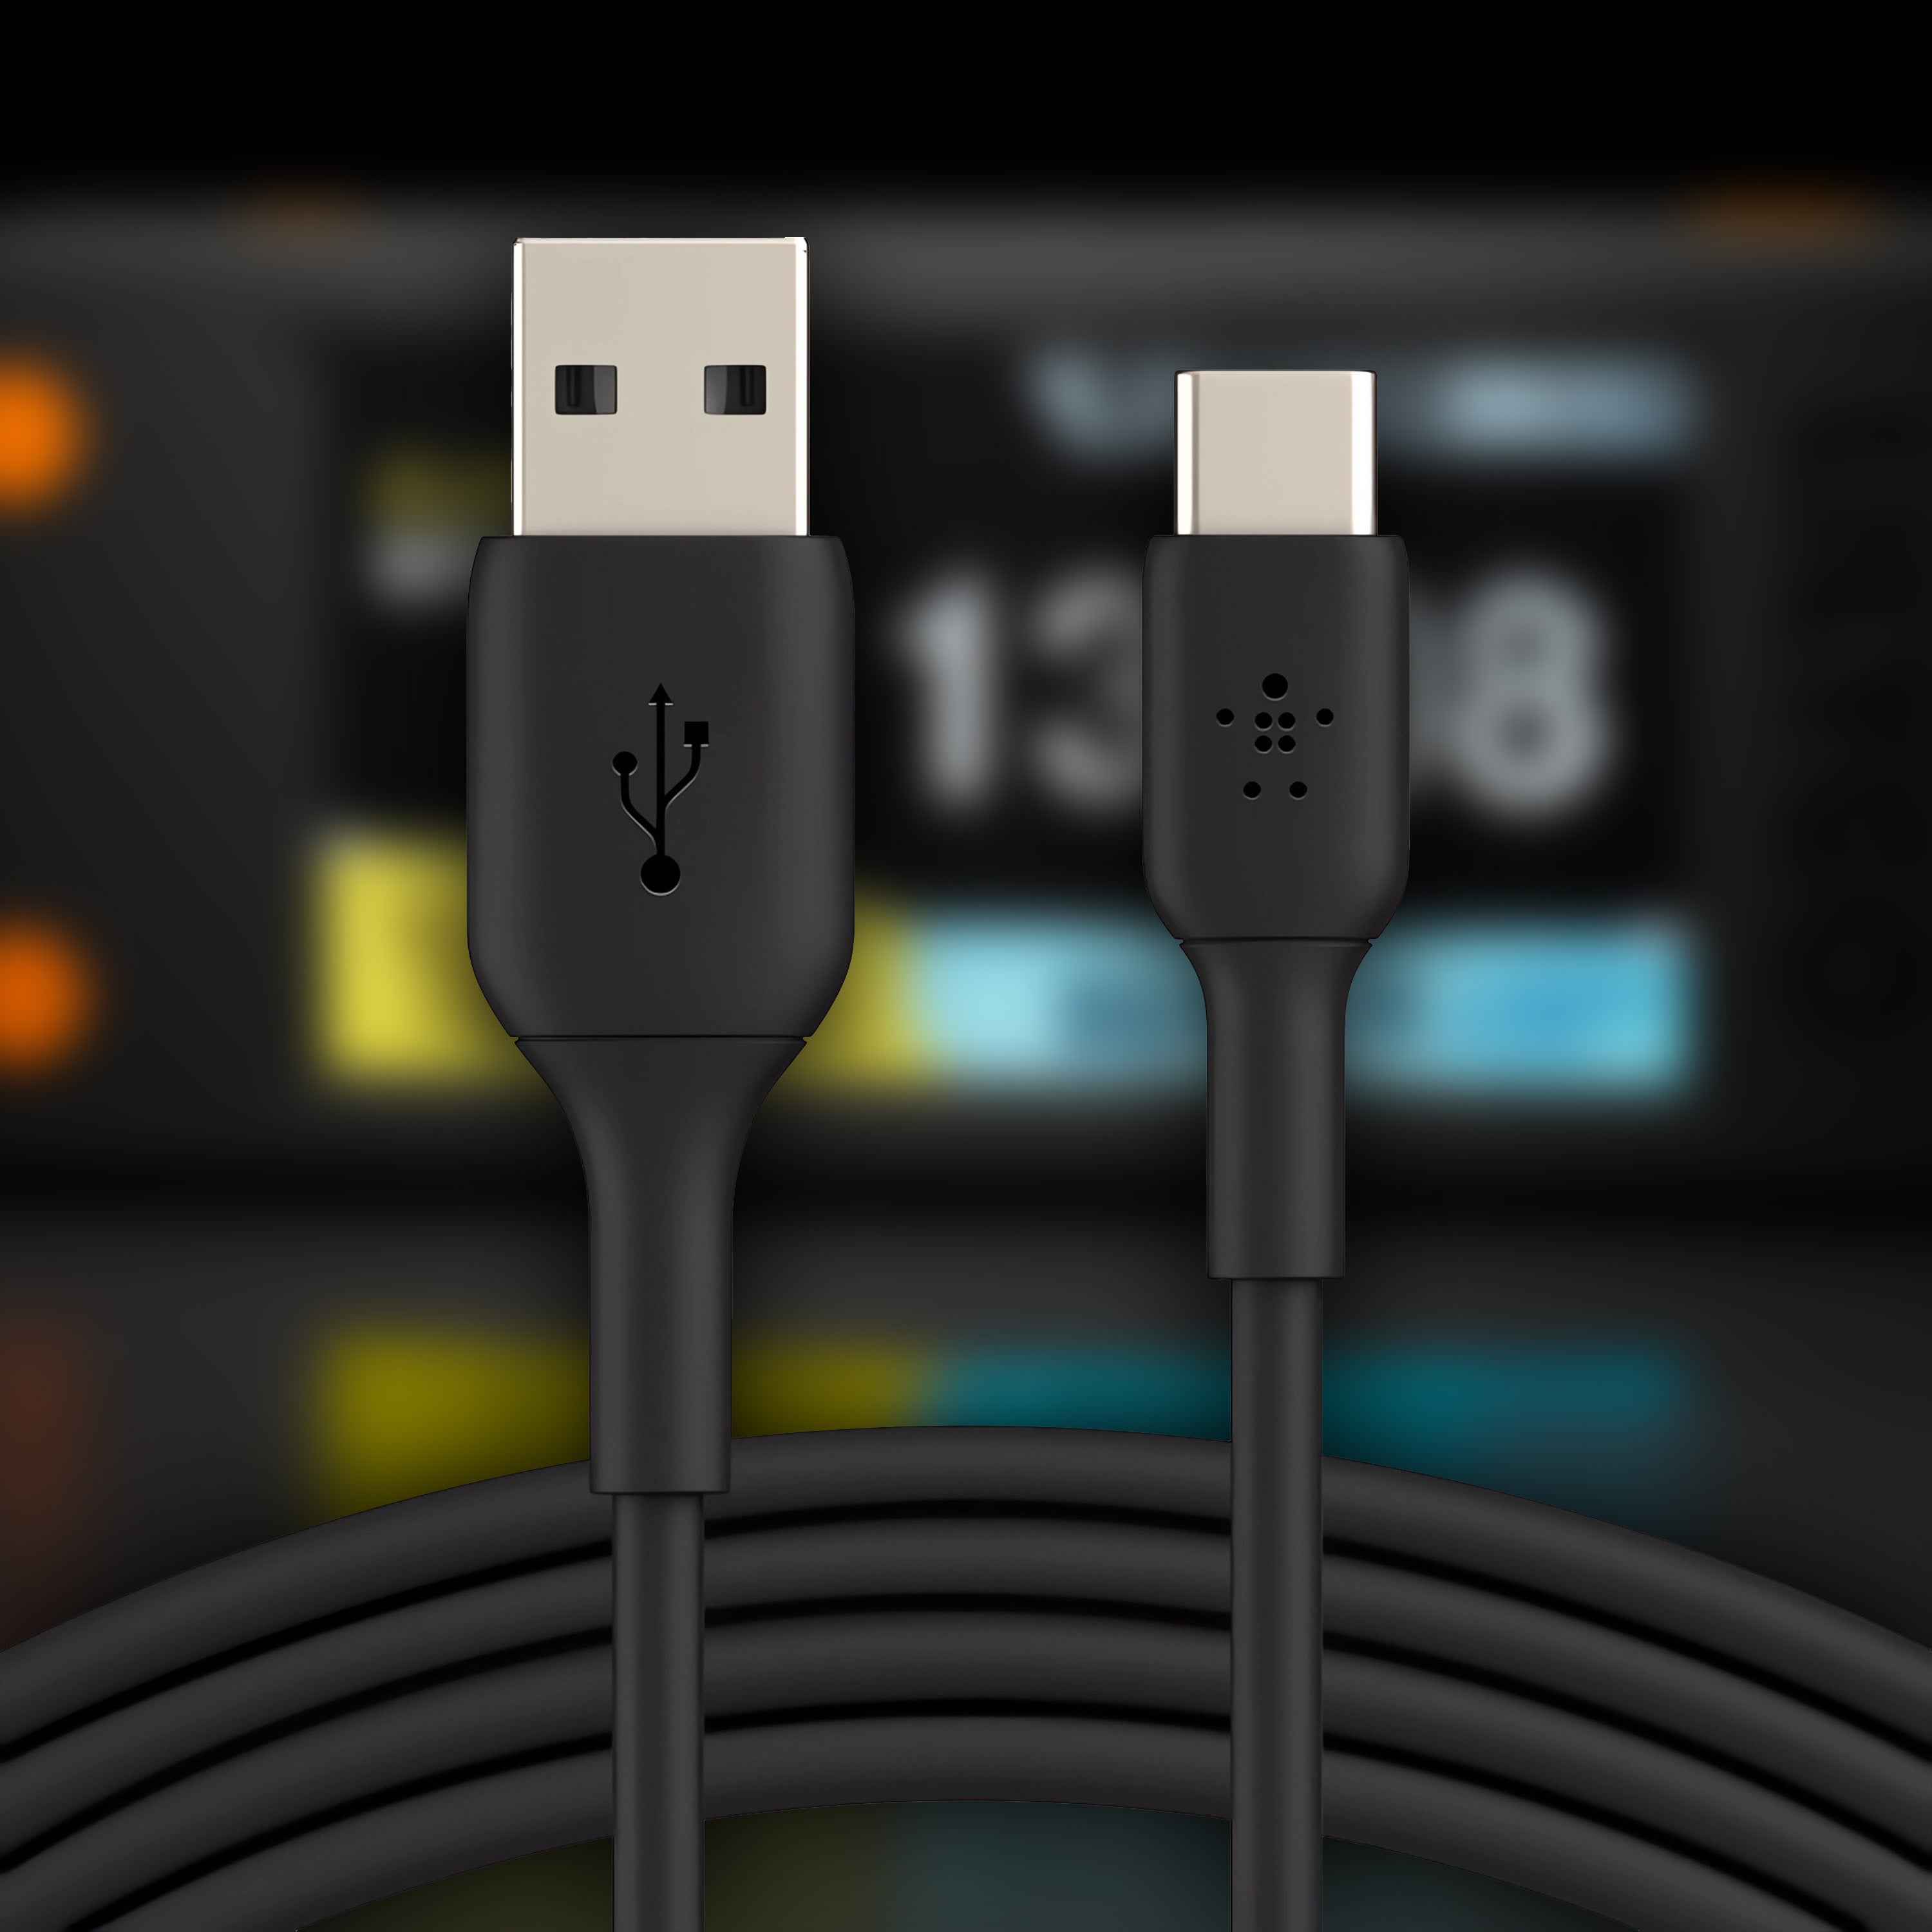
Connect the supplied USB-C cable to the NerdNOS and plug the adapter into a socket. The fan spins briefly and the display shows the boot screen first. After 15 to 30 seconds the setup screen appears with the line
Setup via Hashlink App or WiFi, a QR code and the Bluetooth and Wi-Fi symbols. The device is now in setup mode.
The setup screen on the NerdNOS: "Setup via Hashlink App or WiFi" with a QR code. -
Install the Hashlink app
Scan the QR code on the display with your phone camera and it takes you straight to the Hashlink app in the store. Alternatively, search for
Hashlinkin the App Store (iPhone) or Play Store (Android). The app is free and the free plan covers up to 4 devices, which is plenty for one NerdNOS indefinitely.
The Hashlink app in the App Store, free of charge. -
Open the app and tap "Add device"
On first launch the list is empty ("No devices"). Tap Add device (or the + in the top right). Make sure Bluetooth is switched on on your phone.

First launch: tap "Add device". -
Connection method: choose BLE Setup
For the first setup you choose BLE Setup (connect over Bluetooth) and tap SETUP. Above it sits "Network scan", which you only need later, once the NerdNOS is already on your Wi-Fi (see alternatives).

Choose the connection method: "BLE Setup" for the first run. -
Select the NerdNOS over Bluetooth
The app searches for devices in setup mode and lists your miner as
NerdNOS-XXXX(the four characters differ per device). Tap it to connect. If nothing appears: unplug the NerdNOS briefly, let it restart and search again, because Bluetooth is only active on the setup screen.
The NerdNOS appears as "NerdNOS-…" in the BLE list. -
Enter Wi-Fi and replace the bitcoin address, the step that matters most
You now see two blocks. Under WIFI CONFIGURATION you enter your home Wi-Fi (2.4 GHz) and its password. Under POOL CONFIGURATION the pool (
public-pool.io) and port are already filled in, and you leave those alone.Important: enter your own bitcoin address The third field of the pool configuration ships with a bitcoin address already in it, and that is only a placeholder for testing. Replace it with your own SegWit address (bc1q…) so that any block reward lands in your wallet. Delete the pre-filled entry completely and paste your address in. The worker field (xin the screenshot) can stay as it is or be given a name.
Enter the Wi-Fi, then replace the pre-filled address with your own. Then "Apply Configuration". To finish, tap Apply Configuration. The NerdNOS saves everything and restarts automatically.
-
Done, mining is running
After the restart the NerdNOS connects to your Wi-Fi and to
public-pool.io. In the Hashlink app it shows up under "All miners" with a green dot (online), a live hash rate (0.09 TH/s= 90 GH/s, for example), chip temperature and accepted shares. As soon as the first shares are counted you are live on the bitcoin network. Congratulations.
Dashboard: NerdNOS online, live hash rate, temperature and shares at a glance.
Alternatives to the BLE setup
The Bluetooth route above is the simplest. There are two further routes depending on your situation:
The NerdNOS is already on Wi-Fi, add it by network scan
192.168.2.55, for instance). Tap it, choose Add Selected Device and confirm with Add in the dialog. Important: the phone and the NerdNOS must be on the same Wi-Fi.
 The network scan finds the NerdNOS by IP.
 Confirm with "Add".
Without the app: the classic Wi-Fi setup in a browser
NerdMinerAP network (password MineYourCoins). A browser window usually opens by itself, and if not, go to 192.168.4.1. Choose Configure WiFi, enter your home Wi-Fi and its password and scroll down to the pool fields. The same rule applies here: delete the pre-filled bitcoin address completely and enter your own SegWit address (bc1q…), then hit Save. The rest works identically.
Which bitcoin addresses work
| Format | Example prefix | NerdNOS |
|---|---|---|
| SegWit (Bech32), recommended | bc1q… |
✓ works |
| Legacy | 1… |
✓ works |
| P2SH / nested SegWit | 3… |
✓ works |
| Taproot | bc1p… |
✗ rejected |
The OSMU wiki confirms it: taproot addresses (bc1p…) are not processed correctly by the standard public pool. Use SegWit (bc1q…), the bitcoin standard since 2017 and produced by every modern wallet. Our recommendation: eToro (free account, EU-regulated, address in the eToro wallet) or Tangem (your own hardware wallet, 10% off through our link). Also suitable: Sparrow (desktop, open source), BlueWallet (mobile), Trezor or Coldcard (hardware). For a block find, your own wallet is the safest place, because on an exchange or platform account the credit of a mining reward can trigger questions about its origin.
eToro risk warning: Your capital is at risk. Crypto assets are highly volatile, other fees and taxes may apply.
Understanding hash rate: why 90 sometimes and 400 at others?
The BM1397 ASIC in the NerdNOS is throttled to about 8 W so it stays quiet and cool. The resulting hash rate is not constant, and it varies for three reasons:
- Silicon lottery: every BM1397 chip leaves the factory with marginally different characteristics. Some run stably at 200+ GH/s even at a low frequency, others need more voltage.
- Frequency setting: the stock firmware runs a conservative default frequency. You can adjust it in the local web dashboard, where a higher frequency means more hash rate but also more power and heat.
- Temperature: the chip throttles itself when it gets too hot (thermal throttling). If your NerdNOS sits in the sun or boxed into a cupboard, it will dial the hash rate down.
| Source | Figure | Condition |
|---|---|---|
| OSMU wiki (official) | 150–200 GH/s | stock, throttled |
| Community figure | 80–110 GH/s | heavily throttled, low frequency |
| BitMiner24 (our own measurement) | 180–400 GH/s | 14-day test, default frequency |
| BM1397 chip (theoretical) | up to 400 GH/s | maximum frequency, high draw |
In practice that means: do not expect a constant. The app shows a live hash rate that moves minute by minute. What matters is the average over hours. A NerdNOS averaging 250 GH/s is just as normal as one at 350 GH/s, and that is hardware variance, not a fault. Brief drops between shares are normal, because the pool pauses briefly when it sends a new job. Only regular drops to 0 GH/s lasting several minutes are a warning sign, and then it is usually a weak power supply or a poor USB-C cable (see troubleshooting).
Monitoring your mining: app, local dashboard, pool
There are three ways to follow along:
- The Hashlink app (most convenient): live hash rate, temperature, shares and online status of every device at a glance, including while you are out.
-
The local web dashboard on your home network: the router gives the NerdNOS an IP (
192.168.2.55, say, which you can see in the app or in your router's device list). Opening that IP in a browser gives you the full dashboard with the frequency setting and the firmware update option. Bookmark that IP. -
The public pool dashboard from anywhere:
https://web.public-pool.io/#/app/YOUR_BITCOIN_ADDRESSshows workers, shares per hour, average hash rate and your best difficulty.
Changing pool (optional)
public-pool.io is a good default: free, transparent, no account needed and a decent web dashboard. You can change the pool in the app or in the local web dashboard. The alternatives:
| Pool | Stratum URL | Port | Notes |
|---|---|---|---|
| Public Pool (default) | public-pool.io |
pre-filled | 0% fee · best web dashboard |
| Solo CKPool | solo.ckpool.org |
3333 | 0% fee · established solo community |
| Ocean | mine.ocean.xyz |
3334 | pay-per-share (not pure solo) |
For solo mining, public-pool.io or solo.ckpool.org is the right choice. Ocean is pool mining (regular tiny payouts) and only fits if the block chance matters less to you than a steady trickle. More background: solo mining vs pool mining.
Updating the firmware (later on)
The NerdNOS ships with current firmware. You can install updates at any time through the local web dashboard, with no software, no USB flashing and no terminal. Detailed instructions including recovery mode: firmware update guide 2026.
Troubleshooting: the most common problems
The NerdNOS does not appear in the app (BLE)
Setup via Hashlink App or WiFi), because Bluetooth is only active then. Search again in the app afterwards.The Wi-Fi is not accepted, the device will not connect
The hash rate swings wildly or drops to 0 regularly
The app shows the device offline or "Pool disconnected"
public-pool.io (without stratum+tcp:// in front, the firmware adds that itself). Restart the router. If it persists, switch DNS to 8.8.8.8 or 1.1.1.1.A bc1p… bitcoin address is rejected
bc1q…). Every modern wallet can do SegWit.ASIC temperature above 75 °C
The display stays black after plugging in
FAQ: the most common questions
How likely is my NerdNOS to find a block?
How much electricity does the NerdNOS use per year?
Do I strictly need the Hashlink app?
NerdMinerAP network and the browser page 192.168.4.1 (see alternatives). For convenient monitoring while you are out, the app is still handy.Can I run several NerdNOS units in parallel?
.nerdnos1, .nerdnos2). The app's free plan covers up to 4 devices.Does the NerdNOS work without home Wi-Fi, on a phone hotspot?
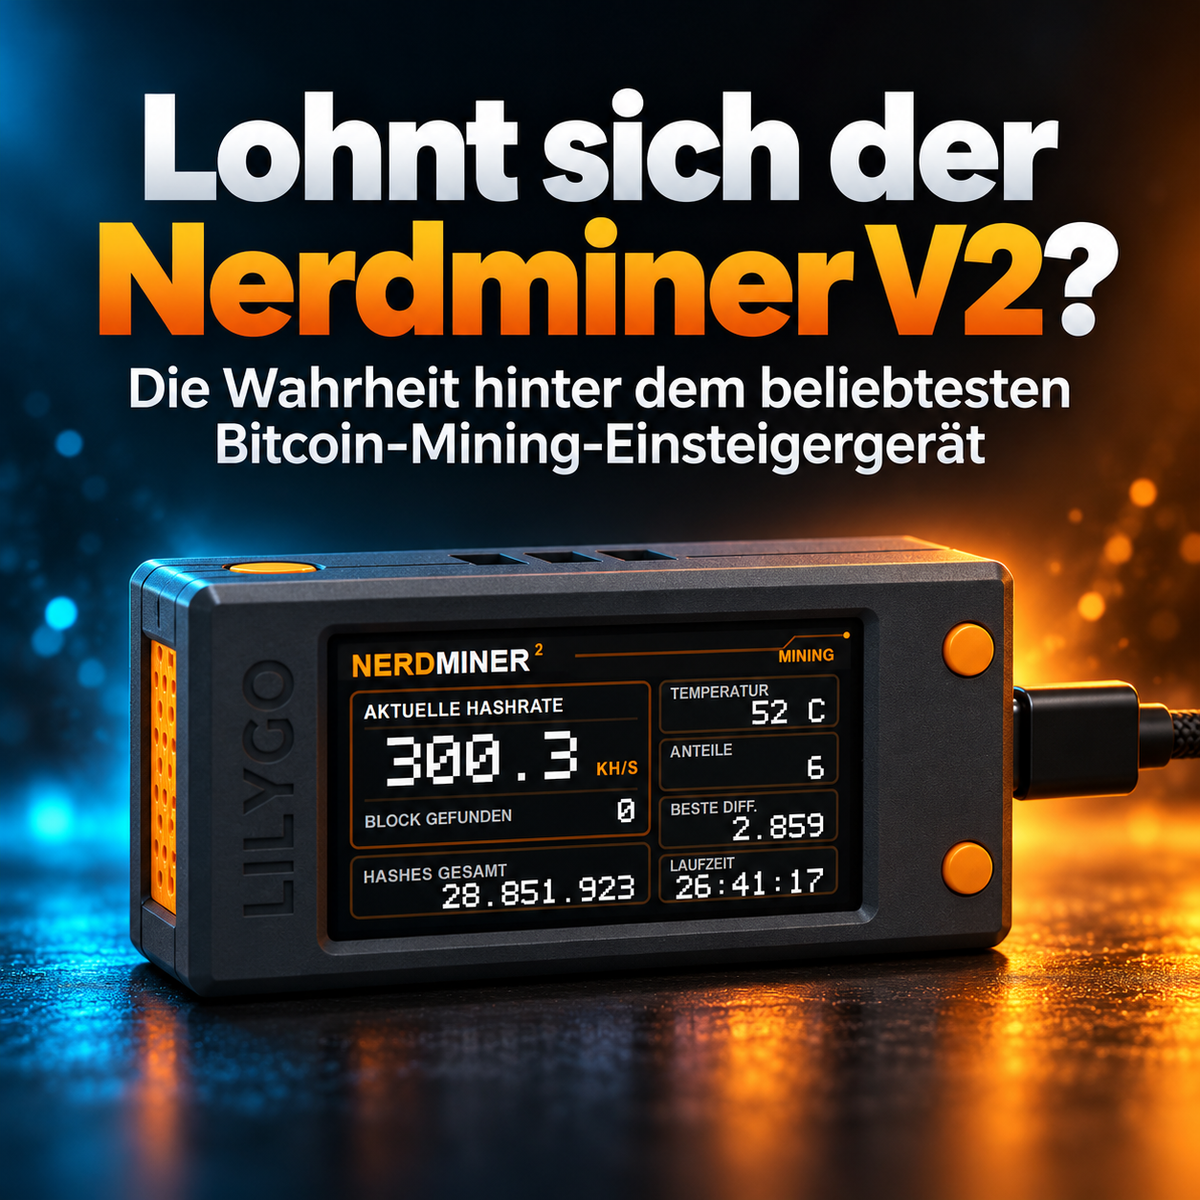
How does the NerdNOS differ from the Nerdminer V2?
What happens if I find a block?
Do I have to pay tax on blocks I find?
Do I have to register a business?
How loud is the fan really?
What happens during a power cut?
Will the NerdNOS make me rich?
Do I need my own bitcoin full node?
public-pool.io, a public solo mining pool charging 0%. If you do run a full node, you can switch to your own solo stratum later.After the setup: further reading
- Nerdminer guide: every topic at a glance
- What is the NerdNOS? Background and concept
- Solo mining calculator: work out your block probability
- NerdNOS power consumption in a measured test series
- NerdNOS vs Nerdminer V2: the hardware jump explained
- Solo mining vs pool mining: the maths behind the decision
- Bitcoin mining taxes in Germany
Any questions left?
If something goes wrong during setup: the two most common problems are 5 GHz instead of 2.4 GHz and a weak power supply, and both are checked in two minutes. For anything else, write to us at info@bitminer24.de. We usually answer within 24 hours, from Stuttgart, as actual people.
NerdNOS: a bitcoin solo miner for €99
Complete set with adapter and USB-C cable · 14-day right of return · free shipping within Germany · DHL GoGreen, carbon neutral
See the NerdNOS in the shop Ships from Stuttgart · real support by emaileToro risk warning (advertising): eToro is a multi-asset platform which offers both investing in stocks and trading CFDs. CFDs are complex instruments and come with a high risk of losing money rapidly due to leverage. 50% of retail investor accounts lose money when trading CFDs with this provider. You should consider whether you understand how CFDs work and whether you can afford to take the high risk of losing your money. Crypto investments are high risk and highly volatile. Crypto trading at eToro (Europe) Ltd. is provided by DLT Finance, crypto custody by Tangany. Taxes may apply. Your capital is at risk. We earn a commission on accounts opened through the eToro links on this page.


Teilen: