Short answer
Update failed? Your Nerdminer V2 is almost never truly bricked.
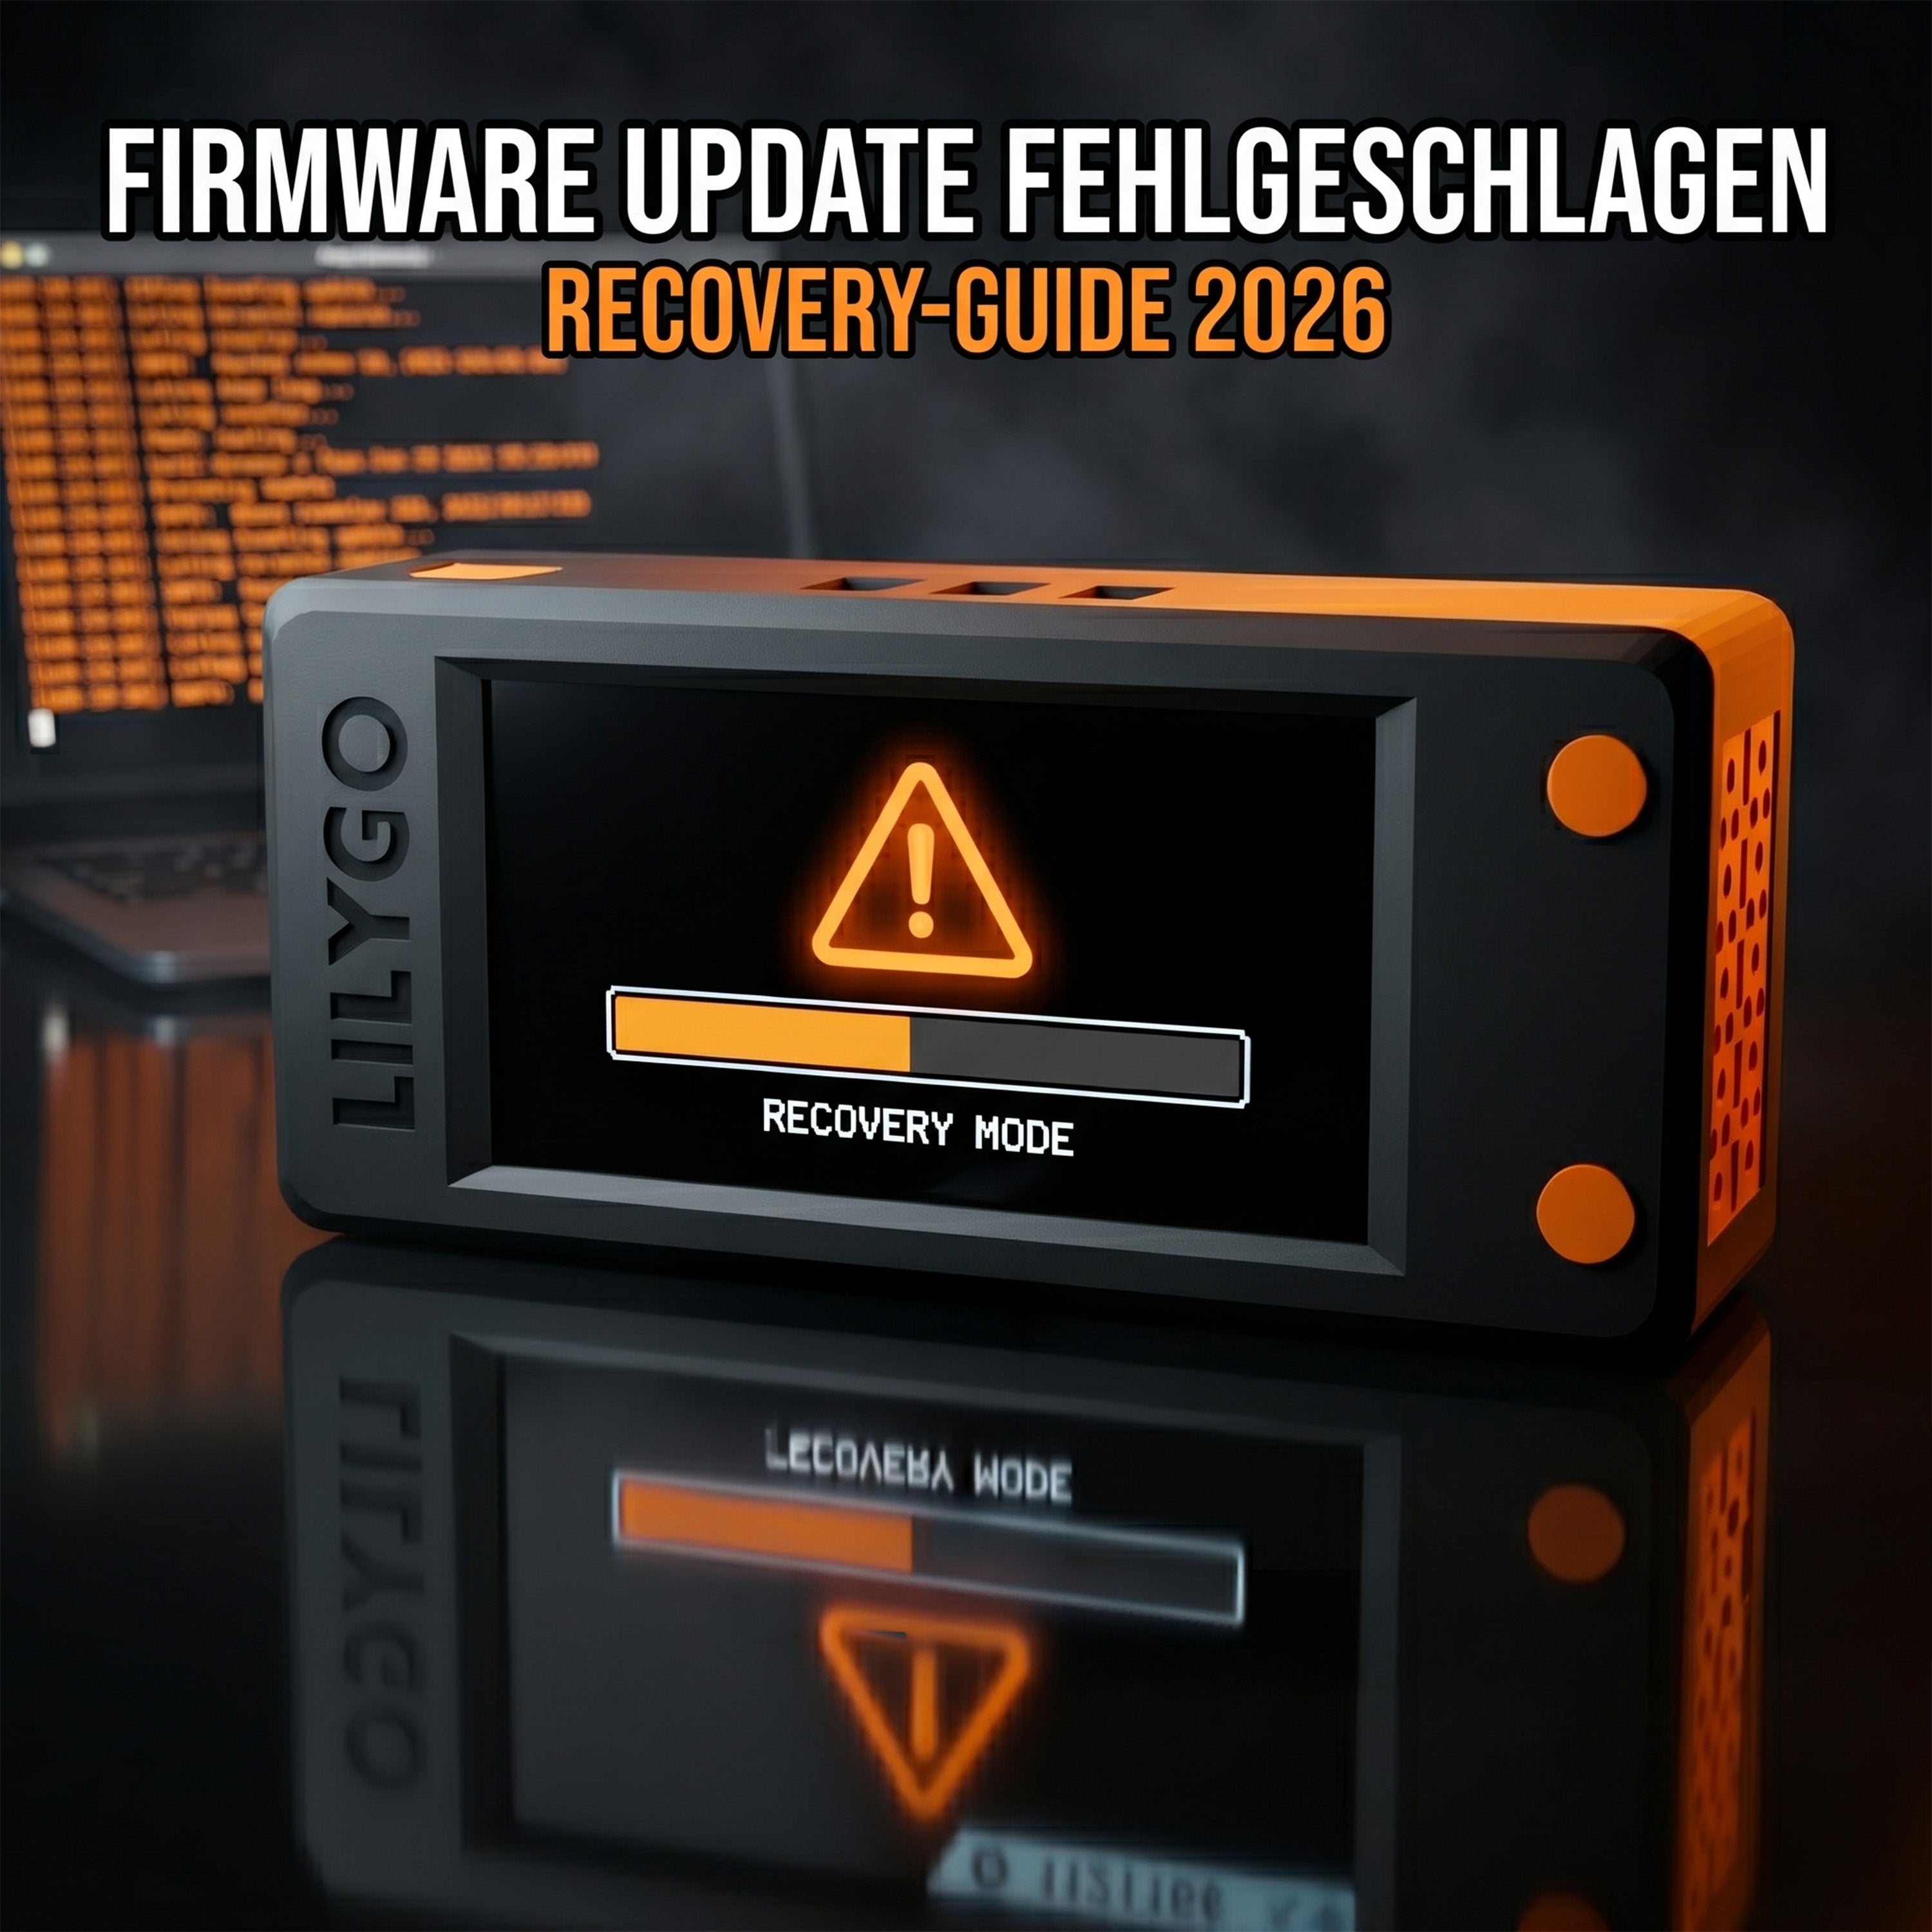
After a failed flash the V2 is practically always recoverable, thanks to the ESP32-S3's hardware recovery. The way back: put the device into recovery with force download mode (hold the BOOT button while plugging it in) and reflash with our browser flasher. The symptom table below takes you straight to the right fix, from a black display through a boot loop to the device not being detected over USB at all.
To the browser flasherFor recovery flashing
The recovery flow runs in the browser too
Once your Nerdminer is in force download mode (hold BOOT while connecting), recovery flashing works exactly the same way in our browser flasher. No download, no tools, back to a working miner in 2 to 3 minutes.
Start recovery in the browserA firmware update on the Nerdminer V2 goes through without trouble in under five minutes in the overwhelming majority of cases. This guide is for the rare exceptions. If your Nerdminer stays black after an update attempt, hangs in a boot loop, no longer finds Wi-Fi, shows a nonsensical hash rate or refuses to connect at all, here are the tested ways to bring it back.
The good news first: a Nerdminer V2 is practically impossible to brick completely. The ESP32-S3 has a hardware recovery mode that still works after a completely failed flash. You only need to know how to reach it.
If you are after a fresh installation rather than a recovery, use the complete firmware update guide.
Symptom check: which problem do you have?
| Symptom | Likely cause | Fix |
|---|---|---|
| Display stays black after the update | Incomplete flash, damaged boot sector | Section 1: hard recovery flash |
| Endless boot loop (resets every 2 to 3 seconds) | Wrong firmware version or partition table mismatch | Section 2: full flash of all partitions |
| Display works but no hash rate | Wi-Fi credentials lost or pool unreachable | Section 3: soft reset and reconfiguration |
| The PC does not detect the device | Cable, driver or port problem | Section 4: fixing USB detection |
| Display shows garbage pixels | Wrong board model flashed (T-Display S3 onto an S3 AMOLED, for example) | Section 5: choosing the right board |
| Hash rate dropped sharply after the update | Stale flash cache | Section 6: full erase and reflash |
Lost your address during recovery?
A full erase wipes every configuration on the Nerdminer: wallet, pool and Wi-Fi. If you cannot find your old bitcoin address any more, a free account at eToro gives you a new one in the eToro wallet. Prefer a wallet that only you control? Then Tangem, 10% off through our link. The complete step-by-step guide is on our blog.
Open a free account at eToroSection 1: hard recovery flash (black display)
If your Nerdminer stays black permanently after a flash attempt, the boot sector has probably taken damage. That is fixable:
-
Unplug the USB cable
Disconnect the USB cable from the Nerdminer completely.
-
Hold the BOOT button
Hold down the boot button (
BOOT) on the ESP32 board. On most T-Display S3 boards it sits on the left-hand side next to the USB port. -
Plug USB back in
While still holding
BOOT, reconnect the USB cable. -
Let go
Hold for another 2 seconds, then release. The device is now in force download mode.
-
Open the browser flasher
Open Chrome and go to our browser flasher at bitminer24.de/en/pages/firmware-update.
-
Select the board and connect
Choose the board "T-Display S3" and click "Connect". The serial port should now be visible even though the display is black.
-
Flash the firmware
Select firmware
1.8.3and click "Flash". -
Restart
Wait for 100 %. Then unplug USB and plug it back in.
In the vast majority of black-display cases that solves it.
Section 2: boot loop (constant resetting)
If your Nerdminer reboots every 2 to 3 seconds without ever reaching the mining stage, the partition table usually does not match the flashed firmware. That is typical after an unclean web flash:
-
Connect in recovery mode
Connect the device through our browser flasher (as in section 1, holding
BOOTwhile plugging it in). -
Choose "Full Erase"
Find the "Full Erase" button in the flasher (sometimes under "Advanced Options"). It wipes the ESP32's entire flash memory.
-
Run the full erase
Start "Full Erase". It takes about 15 seconds.
-
Start a full flash
Immediately afterwards start "Flash" with firmware
1.8.3again. The full flash writes the bootloader, partition table, boot app0 and firmware correctly in one go. -
Reconfigure
Restart the device and enter the Wi-Fi and bitcoin address again.
Section 3: display works, no hash rate (soft reset)
Sometimes the Nerdminer runs again after an update but shows a static "0 KH/s" or stays on the Wi-Fi setup screen. That is not a firmware problem but lost configuration:
-
Look for the network
Take a phone or laptop and scan for Wi-Fi networks.
-
Connect to the access point
Connect to the
NerdMinerAPaccess point (visible whenever the Nerdminer has no Wi-Fi connection). -
Open the setup page
Open
192.168.4.1in the browser. -
Enter your details
Enter your home Wi-Fi, the Wi-Fi password and your bitcoin address (SegWit, starting with
bc1q), then save. -
Mining starts
The Nerdminer restarts by itself and begins hashing within a minute or two.
Important: if you enter a Taproot address (bc1p…) the Nerdminer runs, but a hypothetical block find would not be paid out. Always use SegWit.
Section 4: fixing USB detection
If the flasher does not find the Nerdminer at all, one of these three is almost always responsible:
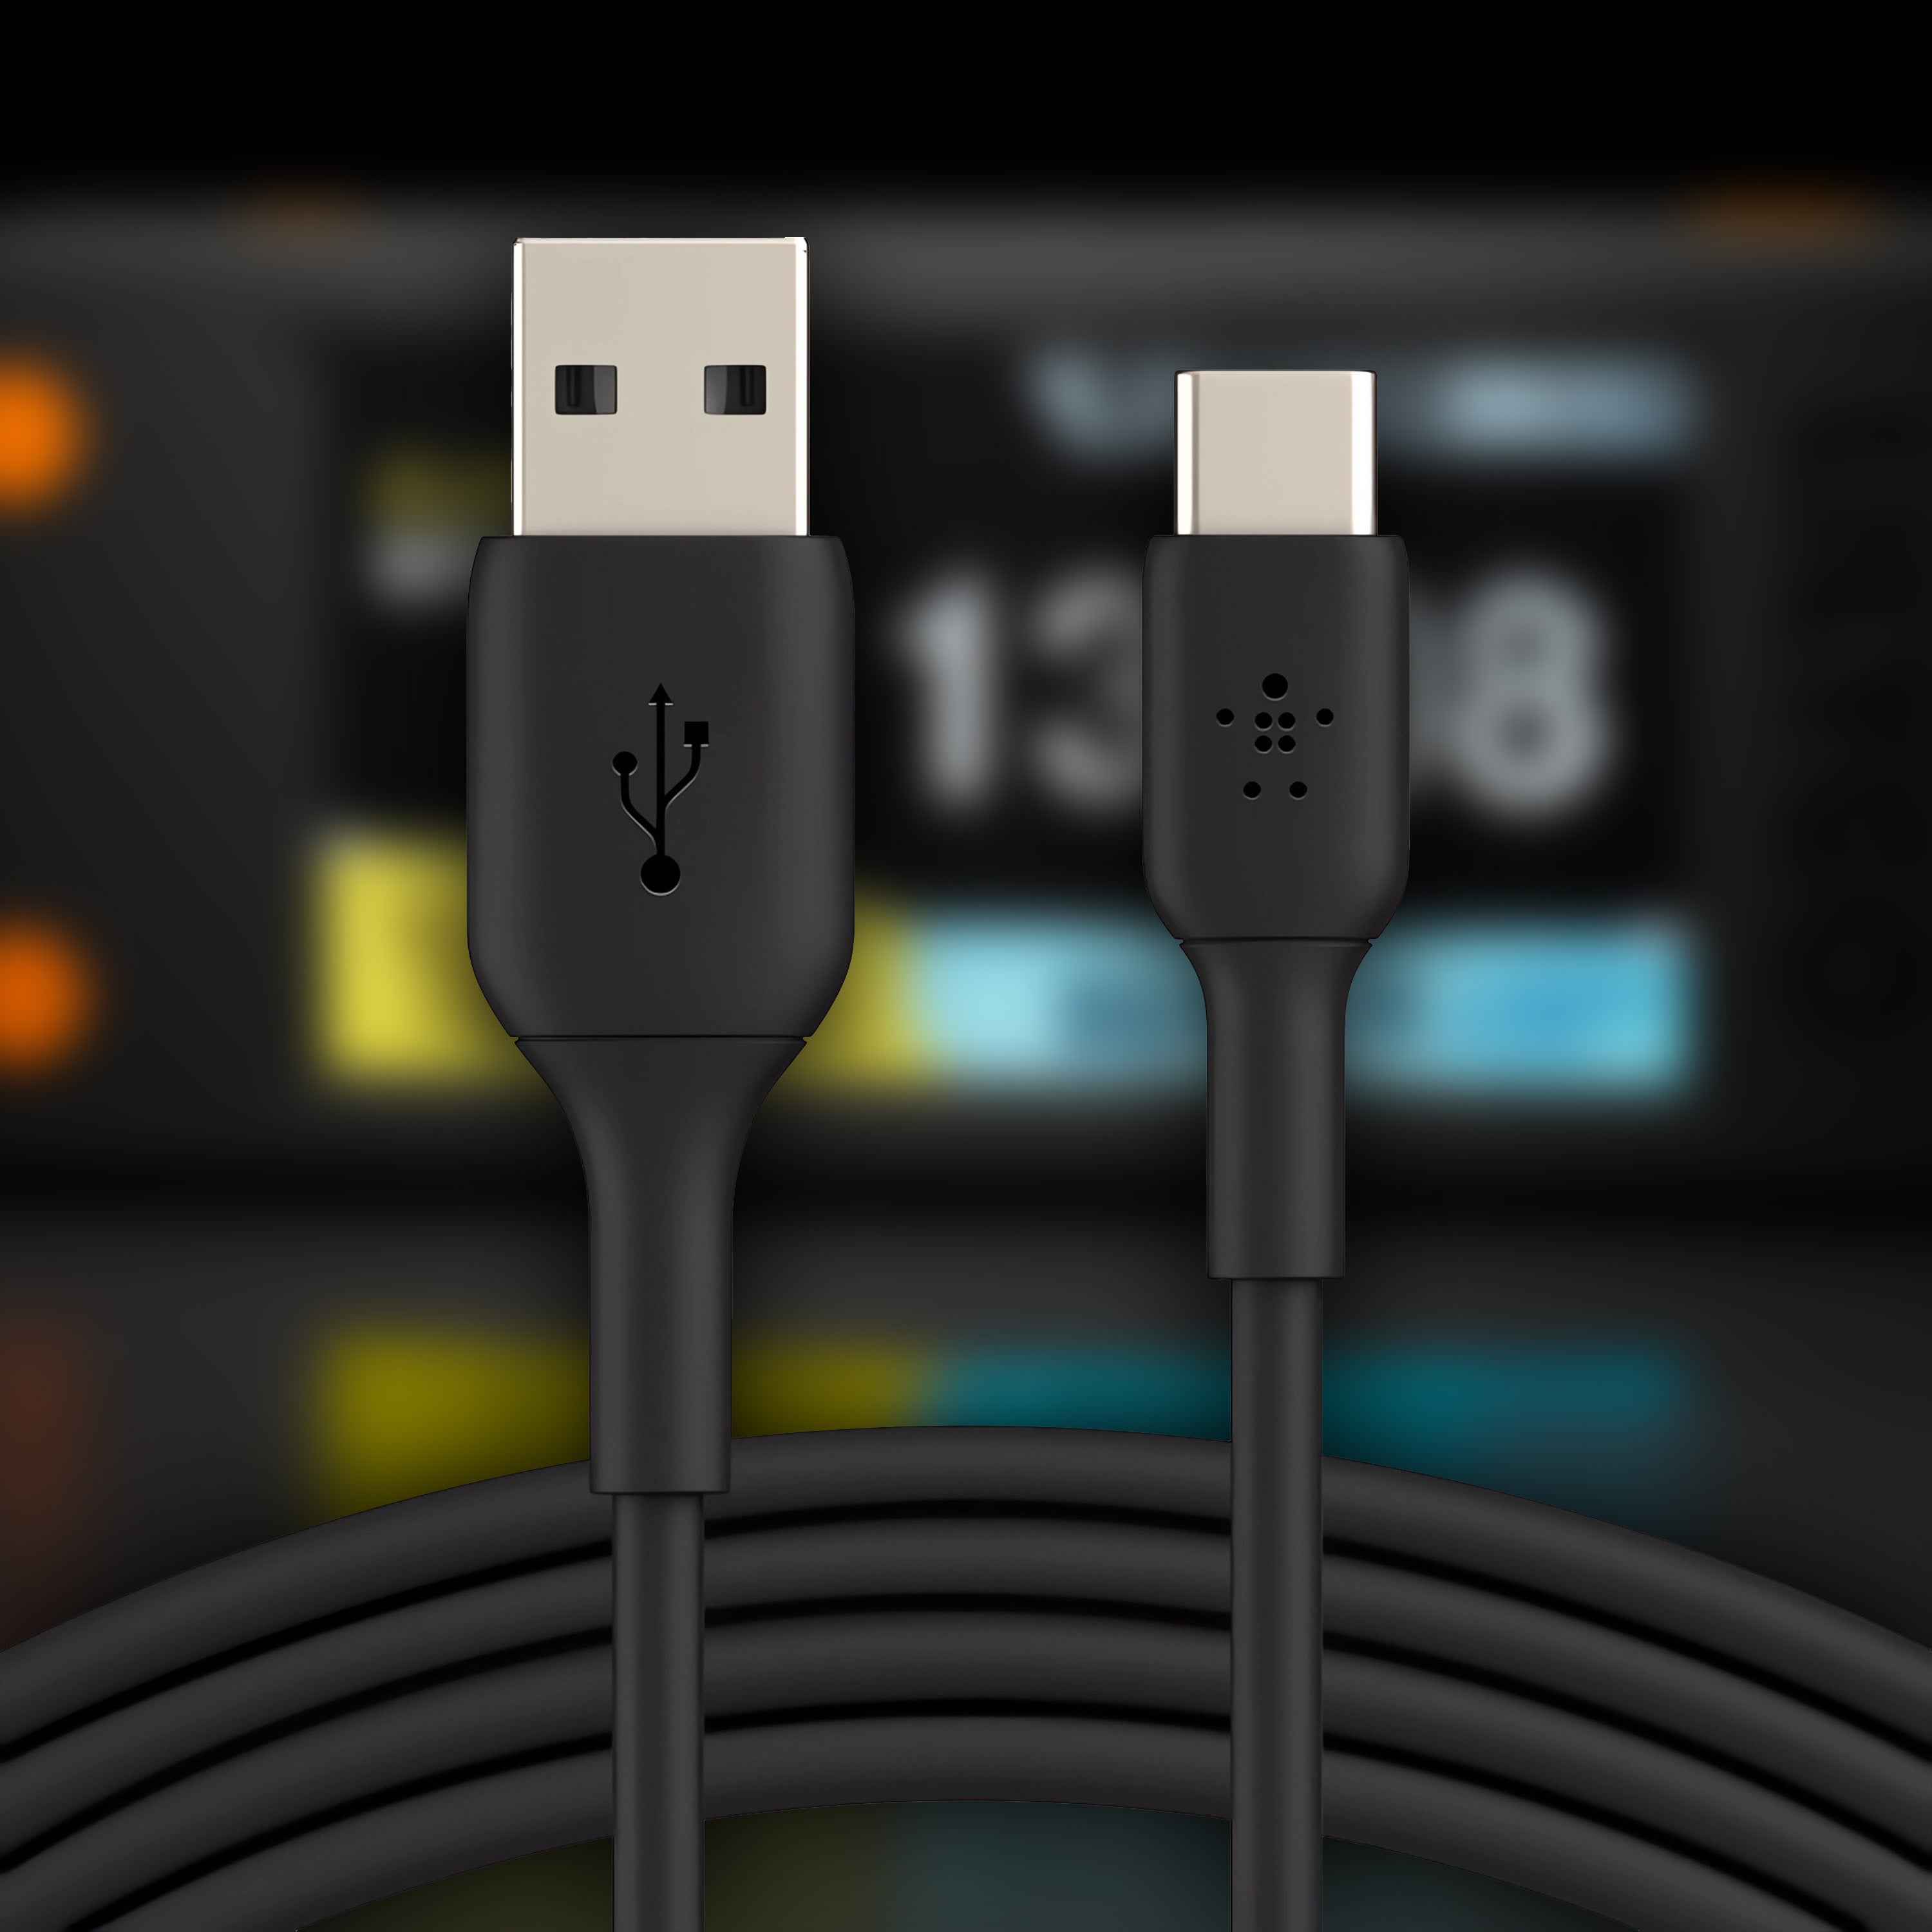
- A charge-only cable: many USB-C cables that come with phone accessories carry no data. Test the same cable with a USB stick; if the stick is not detected either, you have found your problem. Fix: another cable.
- A USB hub: external hubs, docking stations and USB switches frequently interfere. Connect the Nerdminer directly to a port on the motherboard.
-
Missing
CP210xdriver (macOS): Apple ships macOS without the serial driver. Install the Silicon Labs CP210x VCP drivers manually and restart the Mac.
Windows users can check Device Manager under "Ports (COM & LPT)" to see whether the Nerdminer appears. If it does not, it is almost certainly the cable.
Section 5: garbage pixels on the display
If the display shows nothing but random coloured pixels after a flash, the wrong board variant was probably flashed. The Nerdminer V2 comes in three variants:
- T-Display S3 (standard) — IPS LCD, 170×320 pixels
- T-Display S3 AMOLED — OLED display, 240×536 pixels
- T-QT — the mini variant with a square display
Each board needs its own firmware file. Flashing "T-Display S3" onto a "T-Display S3 AMOLED" produces pixel chaos. The fix: check the underside of your device to see which board you have, pick the right type in the flasher and flash again.
Section 6: full erase after a drop in hash rate
If the hash rate is lower after an update rather than higher, the cause is usually an incompletely erased flash cache. The firmware runs, but with old fragments in memory. The fix: a full erase as in section 2, then a fresh flash.
When is a Nerdminer genuinely dead?
In extremely rare cases the ESP32-S3 hardware itself is damaged, usually by the wrong voltage, a static discharge or water. You recognise those cases because the Nerdminer is no longer detected by the PC even in force download mode (BOOT button), whatever cable and port you use.
At that point software cannot save the hardware. Contact the retailer you bought the Nerdminer from; within the EU the two-year statutory warranty applies. For a fault that is not your doing you will normally get a replacement.
Common questions about firmware recovery
Can a failed flash destroy my device completely?
In practice no. The ESP32-S3 has a hardcoded ROM bootloader that still works after a brick. As long as the chip is not physically damaged, you can always run a new flash through force download mode (hold the BOOT button while plugging it in).
What is the difference between "Full Erase" and "Flash"?
"Flash" only overwrites the firmware partition. "Full Erase" wipes the entire memory including bootloader, partition table and NVS (configuration data). After a full erase you must run a full flash with all four firmware files, otherwise the device will not start.
Where is the BOOT button on the Nerdminer V2?
On most T-Display S3 boards it sits to the left of the USB-C port. Some boards have two buttons; the nearer one is always BOOT, the other is reset. When in doubt: the button closer to the USB port is BOOT.
Can I update the firmware without a PC or laptop?
Not at present. There are no OTA updates and no phone app. You need a Chromium-based browser (Chrome, Edge) on Windows, macOS or Linux.
Does recovery work on Linux?
Yes. Our browser flasher works on Linux exactly as it does on Windows. Sometimes the user has to be added to the dialout group so the serial port is readable: sudo usermod -a -G dialout $USER, then log out and back in.
Read on
No Nerdminer yet?
The Nerdminer V2 is available from a German specialist with support in German and English.
To the Nerdminer V2 in the shop Want more hash rate? See the NerdNOS high-speed Nerdminer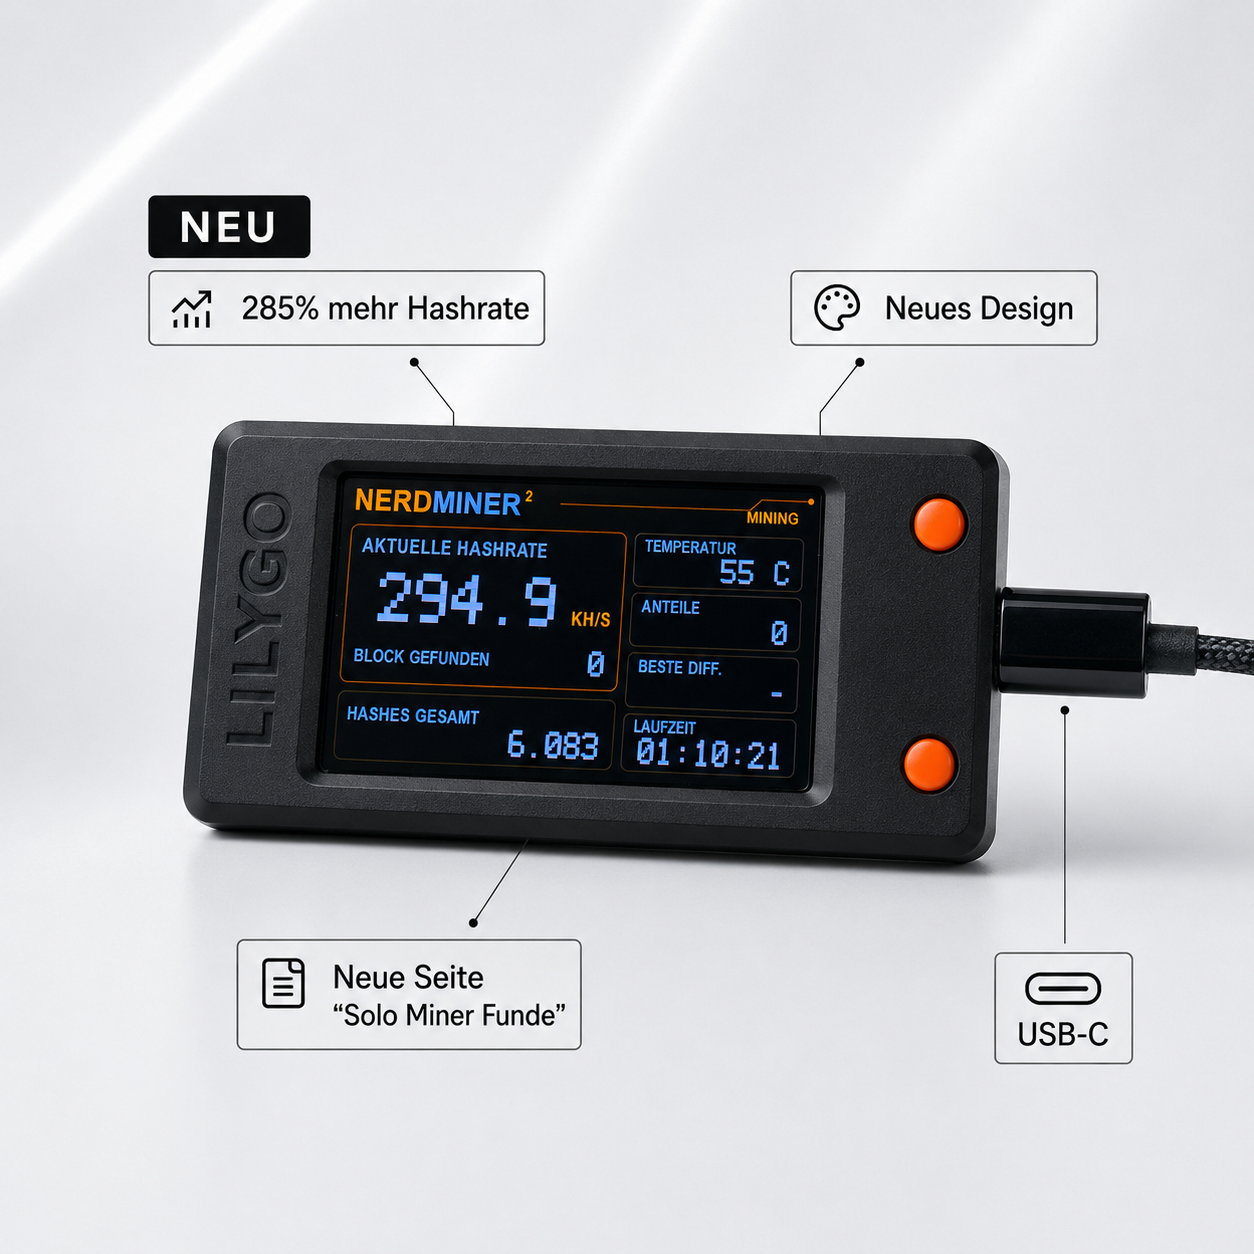


Teilen: