💡 For Recovery Flashing
The recovery flow also works directly in the browser
If your Nerdminer is in Force-Download-Mode (hold the BOOT button while connecting), you can perform the recovery flashing in our browser flasher. No downloads, no tools, back to a working miner in 2-3 minutes.
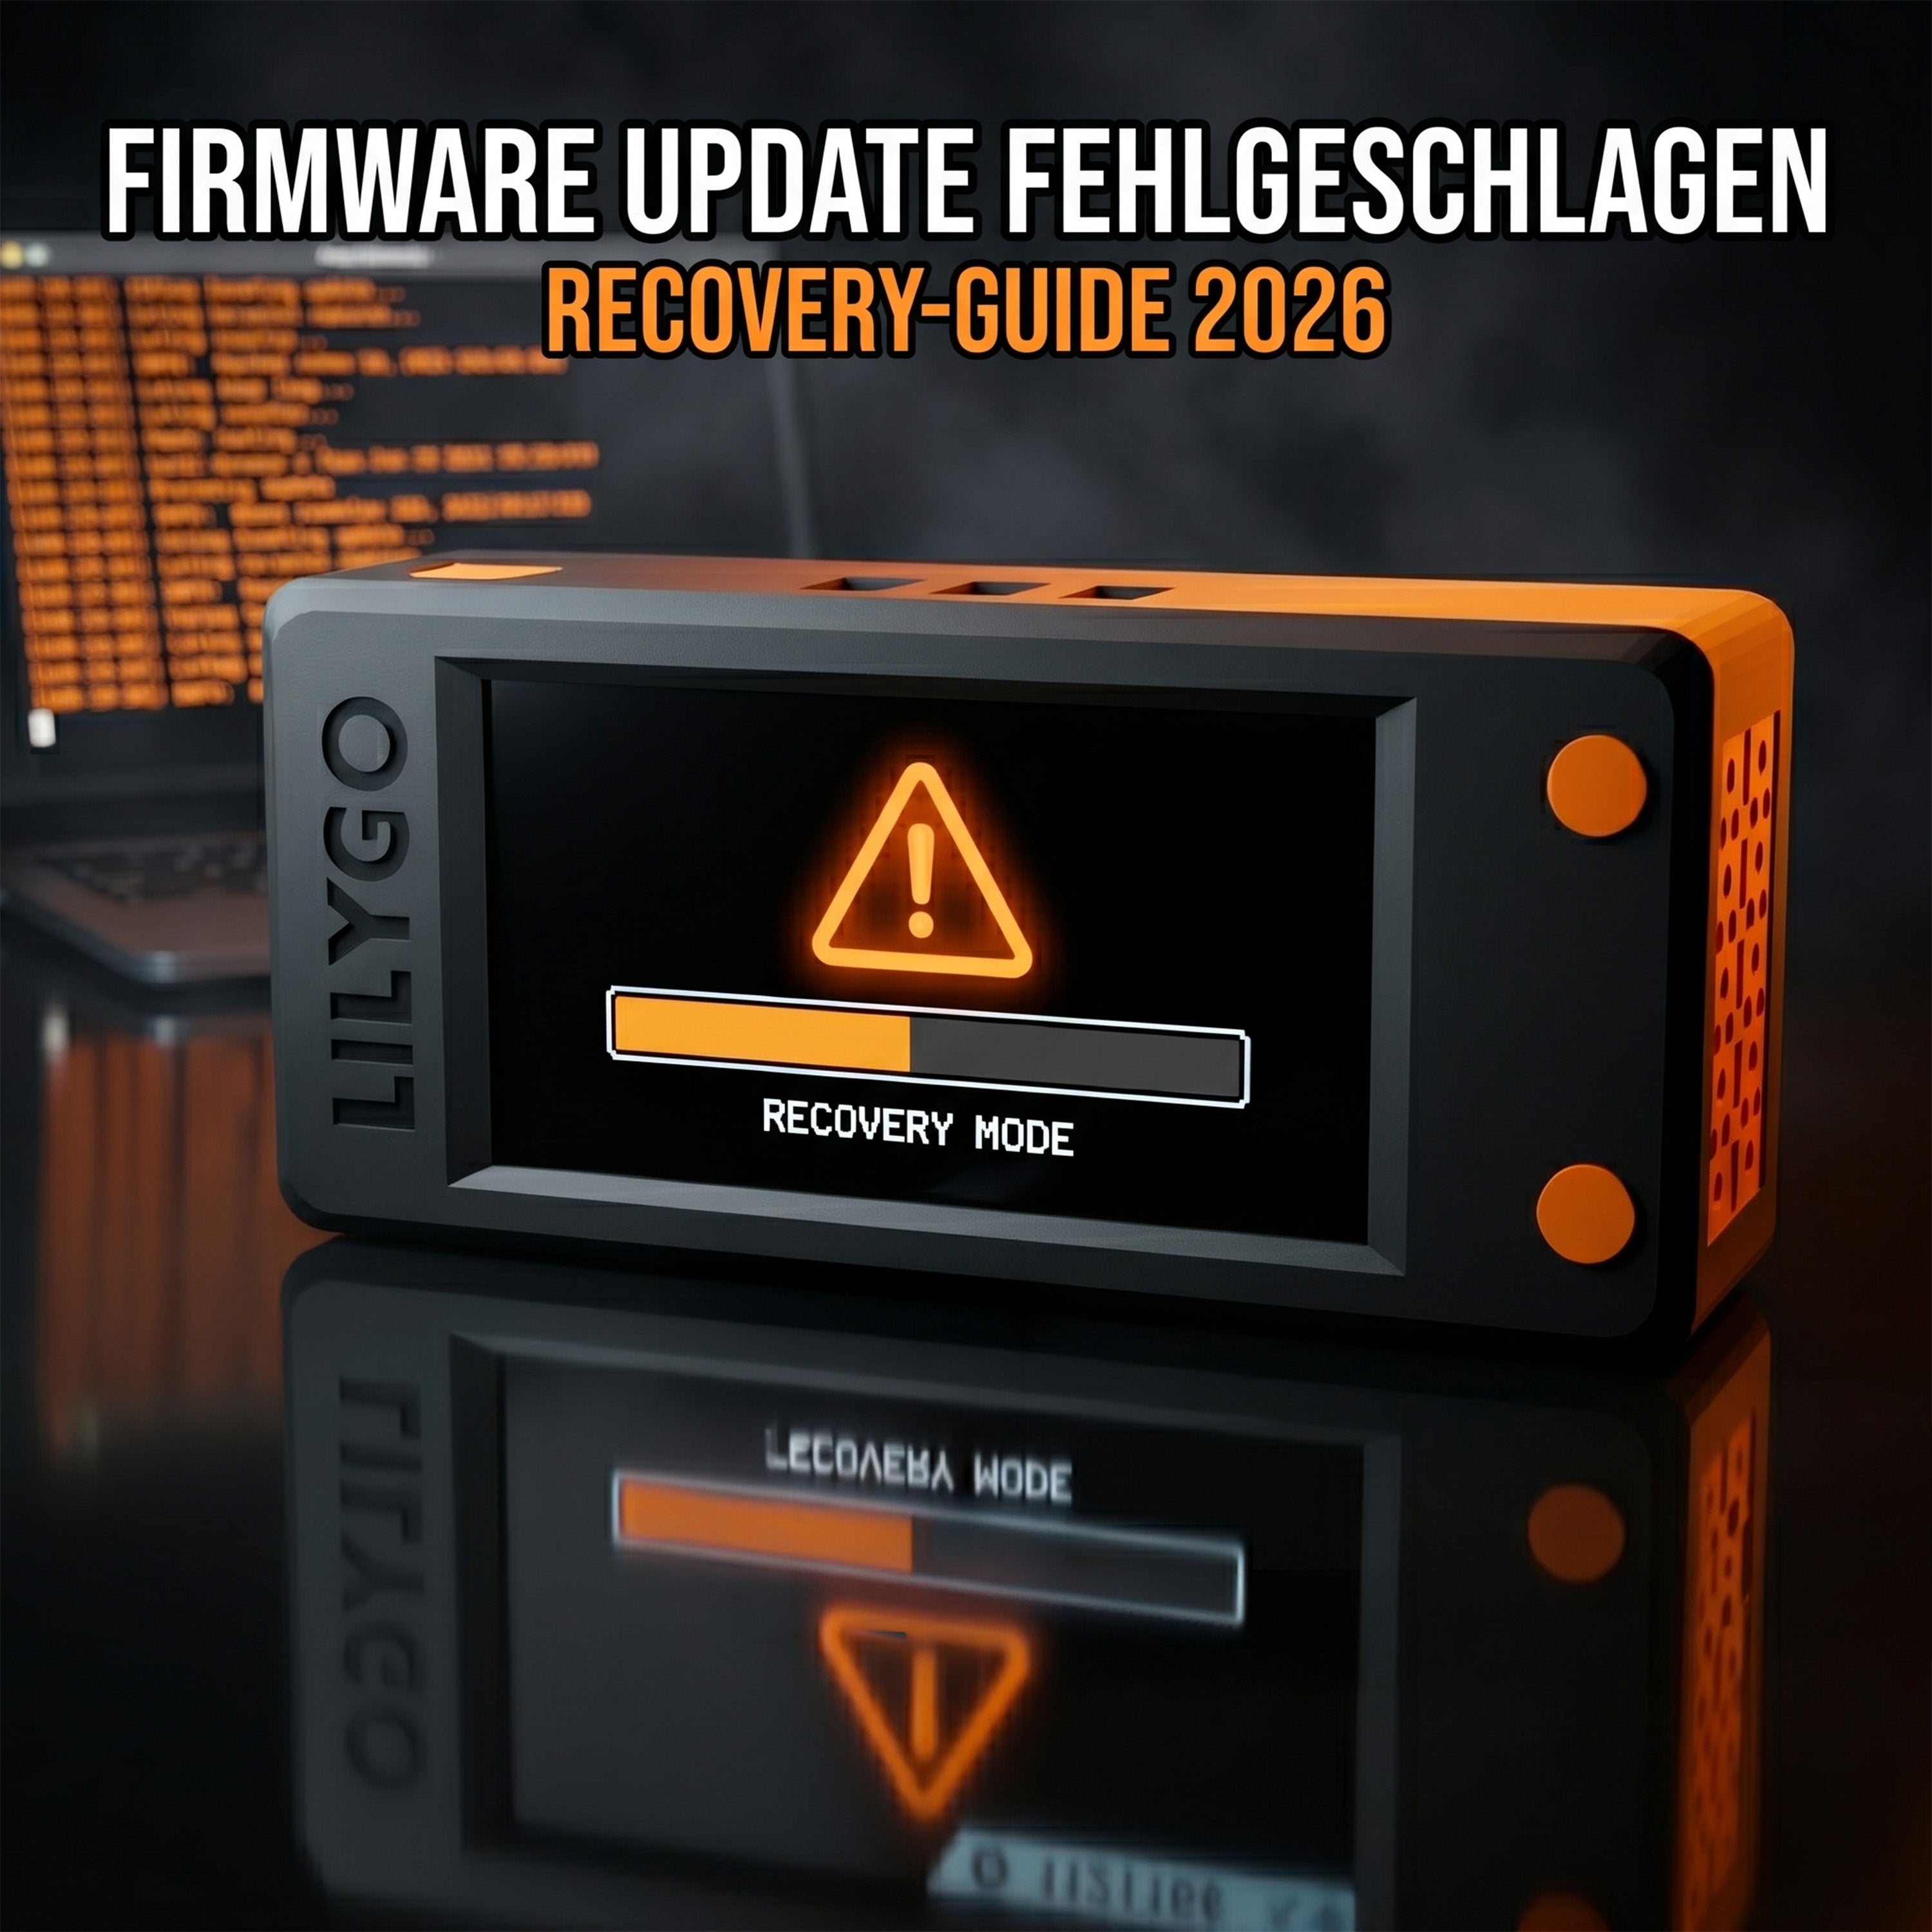
Nerdminer V2 Firmware Update Failed — Recovery Guide 2026
A firmware update on the Nerdminer V2 works flawlessly in under five minutes in 95% of cases. The remaining 5% are the reason this guide exists. If your Nerdminer remains black after an update attempt, gets stuck in a boot loop, can't find Wi-Fi, shows nonsensical hashrate, or can't connect at all — here are the proven solutions to restore your device.
The good news upfront: A Nerdminer V2 can practically never be completely bricked. The ESP32-S3 has a hardware recovery mode that still works even after a completely failed flash. You just need to know how to access it.
If you're looking for a fresh installation instead of recovery, use the complete firmware update guide.
Symptom Check: What problem do you have?
| Symptom | Probable Cause | Solution |
|---|---|---|
| Display remains black after update | Incomplete flash, boot sector corrupted | Section 1: Hard Recovery Flash |
| Endless boot loop (reset every 2-3 sec) | Wrong firmware version or partition table mismatch | Section 2: Full Flash of all partitions |
| Display works, but no hashrate | Wi-Fi credentials lost or pool unreachable | Section 3: Soft Reset and Reconfiguration |
| Device not recognized by PC | Cable, driver, or port issue | Section 4: Fix USB Recognition |
| Display shows garbage pixels | Wrong board model flashed (e.g., T-Display S3 on S3 AMOLED) | Section 5: Choose correct board |
| Hashrate significantly decreased after update | Outdated flash cache | Section 6: Full-Erase + Re-Flash |
Section 1: Hard Recovery Flash (Display black)
If your Nerdminer remains permanently black after a flash attempt, the boot sector has likely been damaged. This can be remedied:
- Unplug the USB cable from the Nerdminer.
- Press and hold the Boot button (BOOT) on the ESP32 board. On most T-Display S3 boards, it's located on the left side next to the USB port.
- While holding BOOT, reconnect the USB cable.
- Hold for another 2 seconds, then release. The device is now in Force-Download Mode.
- Open Chrome, go to bitminer24.de/pages/firmware-update.
- Select "T-Display S3" board, click "Connect". The serial port should now be visible, even if the display is black.
- Select firmware 1.8.3, click "Flash".
- Wait until 100%. Then unplug and replug the USB.
In over 90% of "black display" cases, this solves the problem.
Section 2: Boot Loop (Permanent Reset)
If your Nerdminer reboots every 2-3 seconds without ever reaching the mining stage, the partition table usually doesn't match the flashed firmware. This is typical after a messy web flash:
- Connect to the Bitronics flasher (as in Section 1, using the Boot button).
- In the flasher, find the "Full Erase" button (sometimes hidden under "Advanced Options"). It deletes the entire flash memory of the ESP32.
- Perform "Full Erase". This takes about 15 seconds.
- After that, immediately restart "Flash" with firmware 1.8.3 — the full flash writes the bootloader, partition table, boot-app0, and firmware correctly in one go.
- Restart the device, re-enter Wi-Fi and Bitcoin address.
Section 3: Display works, no Hashrate (Soft Reset)
Sometimes the Nerdminer works again after an update, but shows a static "0 KH/s" or gets stuck on the Wi-Fi setup screen. This is not a firmware problem, but lost configuration:
- Take your smartphone or laptop, search for Wi-Fi networks.
- Connect to the NerdMinerAP access point (visible if the Nerdminer has no Wi-Fi connection).
- Open
192.168.4.1in your browser. - Enter your home Wi-Fi, Wi-Fi password, and Bitcoin address (SegWit starting with bc1q...) and save.
- Nerdminer restarts automatically and starts hashing within 1-2 minutes.
Important: If you enter a Taproot address (bc1p...), the Nerdminer will run, but will not receive a payout in the event of a hypothetical block find. Always use SegWit.
Section 4: Fix USB Recognition
If the flasher doesn't find the Nerdminer at all, one of these three reasons is almost always responsible:
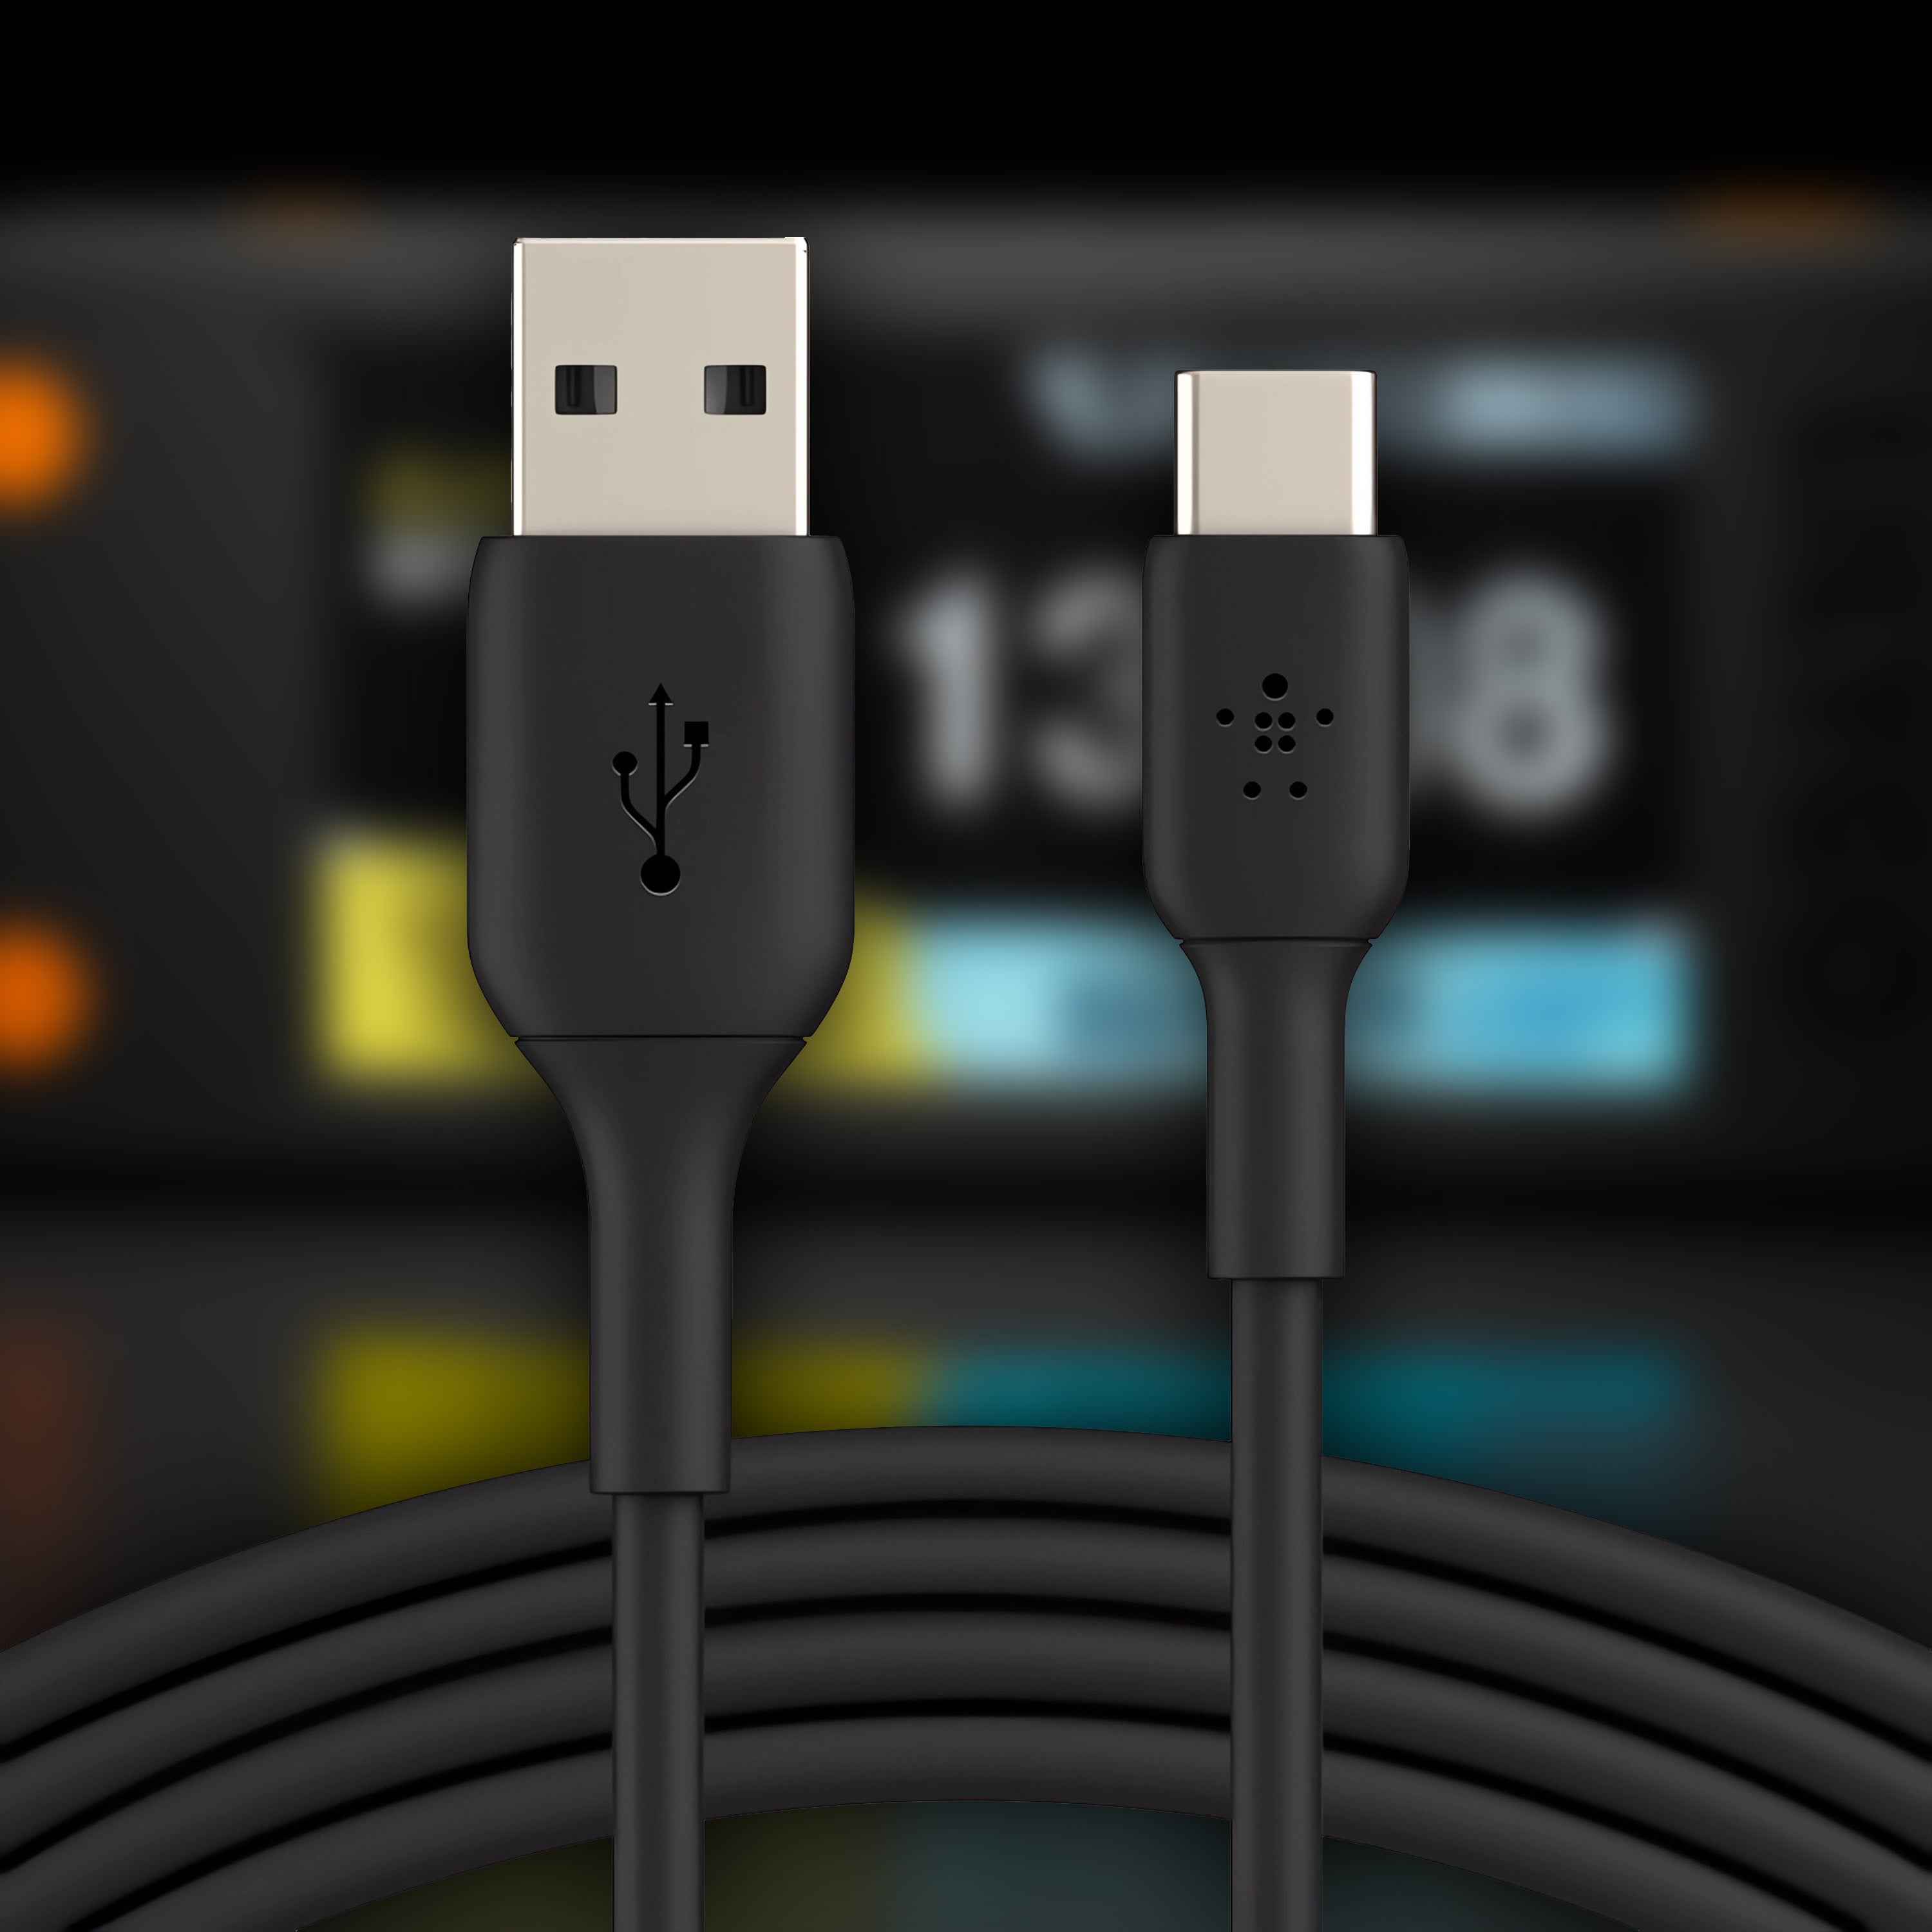
- Charge-only cable: Many USB-C cables from smartphone accessories do not transmit data. Test the same cable with a USB stick — if the stick is also not recognized, you have found your problem. Solution: use a different cable.
- USB hub: External hubs, docking stations, or USB switches often interfere. Connect the Nerdminer directly to a motherboard port.
- Missing CP210x driver (macOS): Apple delivers macOS without the serial driver. Manually install the Silicon Labs CP210x VCP Drivers and restart your Mac.
Windows users can check in Device Manager under "Ports (COM & LPT)" if the Nerdminer appears there. If not, it's almost certainly the cable.
Section 5: Garbage Pixels on the Display
If the display only shows colorful random pixels after the flash, the wrong board variant was probably flashed. The Nerdminer V2 comes in three variants:
- T-Display S3 (Standard) — IPS-LCD, 170×320 pixels
- T-Display S3 AMOLED — OLED display, 240×536 pixels
- T-QT — Mini variant with square display
Each board requires its own firmware file. A "T-Display S3" flash on a "T-Display S3 AMOLED" leads to pixel chaos. Solution: Check the bottom of your device to see which board you have, and select the correct type in the flasher. Then re-flash.
Section 6: Full-Erase for Decreased Hashrate
If the hashrate is lower after an update than before, instead of higher, it is usually due to an incompletely cleared flash cache. The firmware is running, but with old fragments in memory. Solution: Full-Erase as in Section 2, then a fresh flash.
When is a Nerdminer truly beyond repair?
In extremely rare cases, the ESP32-S3 chip hardware itself may be damaged — usually by incorrect voltage, static discharge, or water damage. You can recognize these cases by the fact that the Nerdminer is no longer recognized by the PC even in Force-Download Mode (Boot button), regardless of the cable and port.
In this case, the hardware cannot be salvaged by software. Contact the retailer from whom you purchased the Nerdminer — if purchased in the EU, the 2-year warranty applies. For a defect not caused by your own fault, you will usually receive a replacement device.
Frequently Asked Questions about Firmware Recovery
Can I completely destroy my device by a failed flash?
Practically no. The ESP32-S3 has a hardcoded ROM bootloader that still works even after a brick. As long as the chip is not physically damaged, you can always perform a new flash via Force-Download Mode (hold the Boot button while connecting).
What is the difference between "Full Erase" and "Flash"?
"Flash" only overwrites the firmware partition. "Full Erase" deletes the entire memory, including bootloader, partition table, and NVS (configuration data). After a full erase, you must perform a full flash with all four firmware files — otherwise the device will no longer start.
Where is the BOOT button on the Nerdminer V2?
On most T-Display S3 boards, it is located on the left side of the USB-C port. Some boards have two buttons — one is always BOOT, the other is Reset. When in doubt: The button closer to the USB port is the BOOT button.
Can I update firmware without a PC/laptop?
Currently no. There are no OTA updates or a smartphone app. You need a Chromium-based browser (Chrome, Edge) on Windows, macOS, or Linux.
Is recovery also possible on Linux?
Yes. On Linux, the Bitronics web flasher works the same as on Windows. Sometimes the user needs to be added to the dialout group for the serial port to be readable: sudo usermod -a -G dialout $USER, then log out and log back in.
Read More
- Complete Firmware Update Guide — for normal updates
- Release Notes 1.8.3 — Changelog and Benchmark Data
- Nerdminer V2 Setup — from unboxing to mining
- Wi-Fi Troubleshooting on Nerdminer V2
Don't have a Nerdminer yet?
Order your Nerdminer V2 from a German specialist dealer
To the Nerdminer V2 in the shop →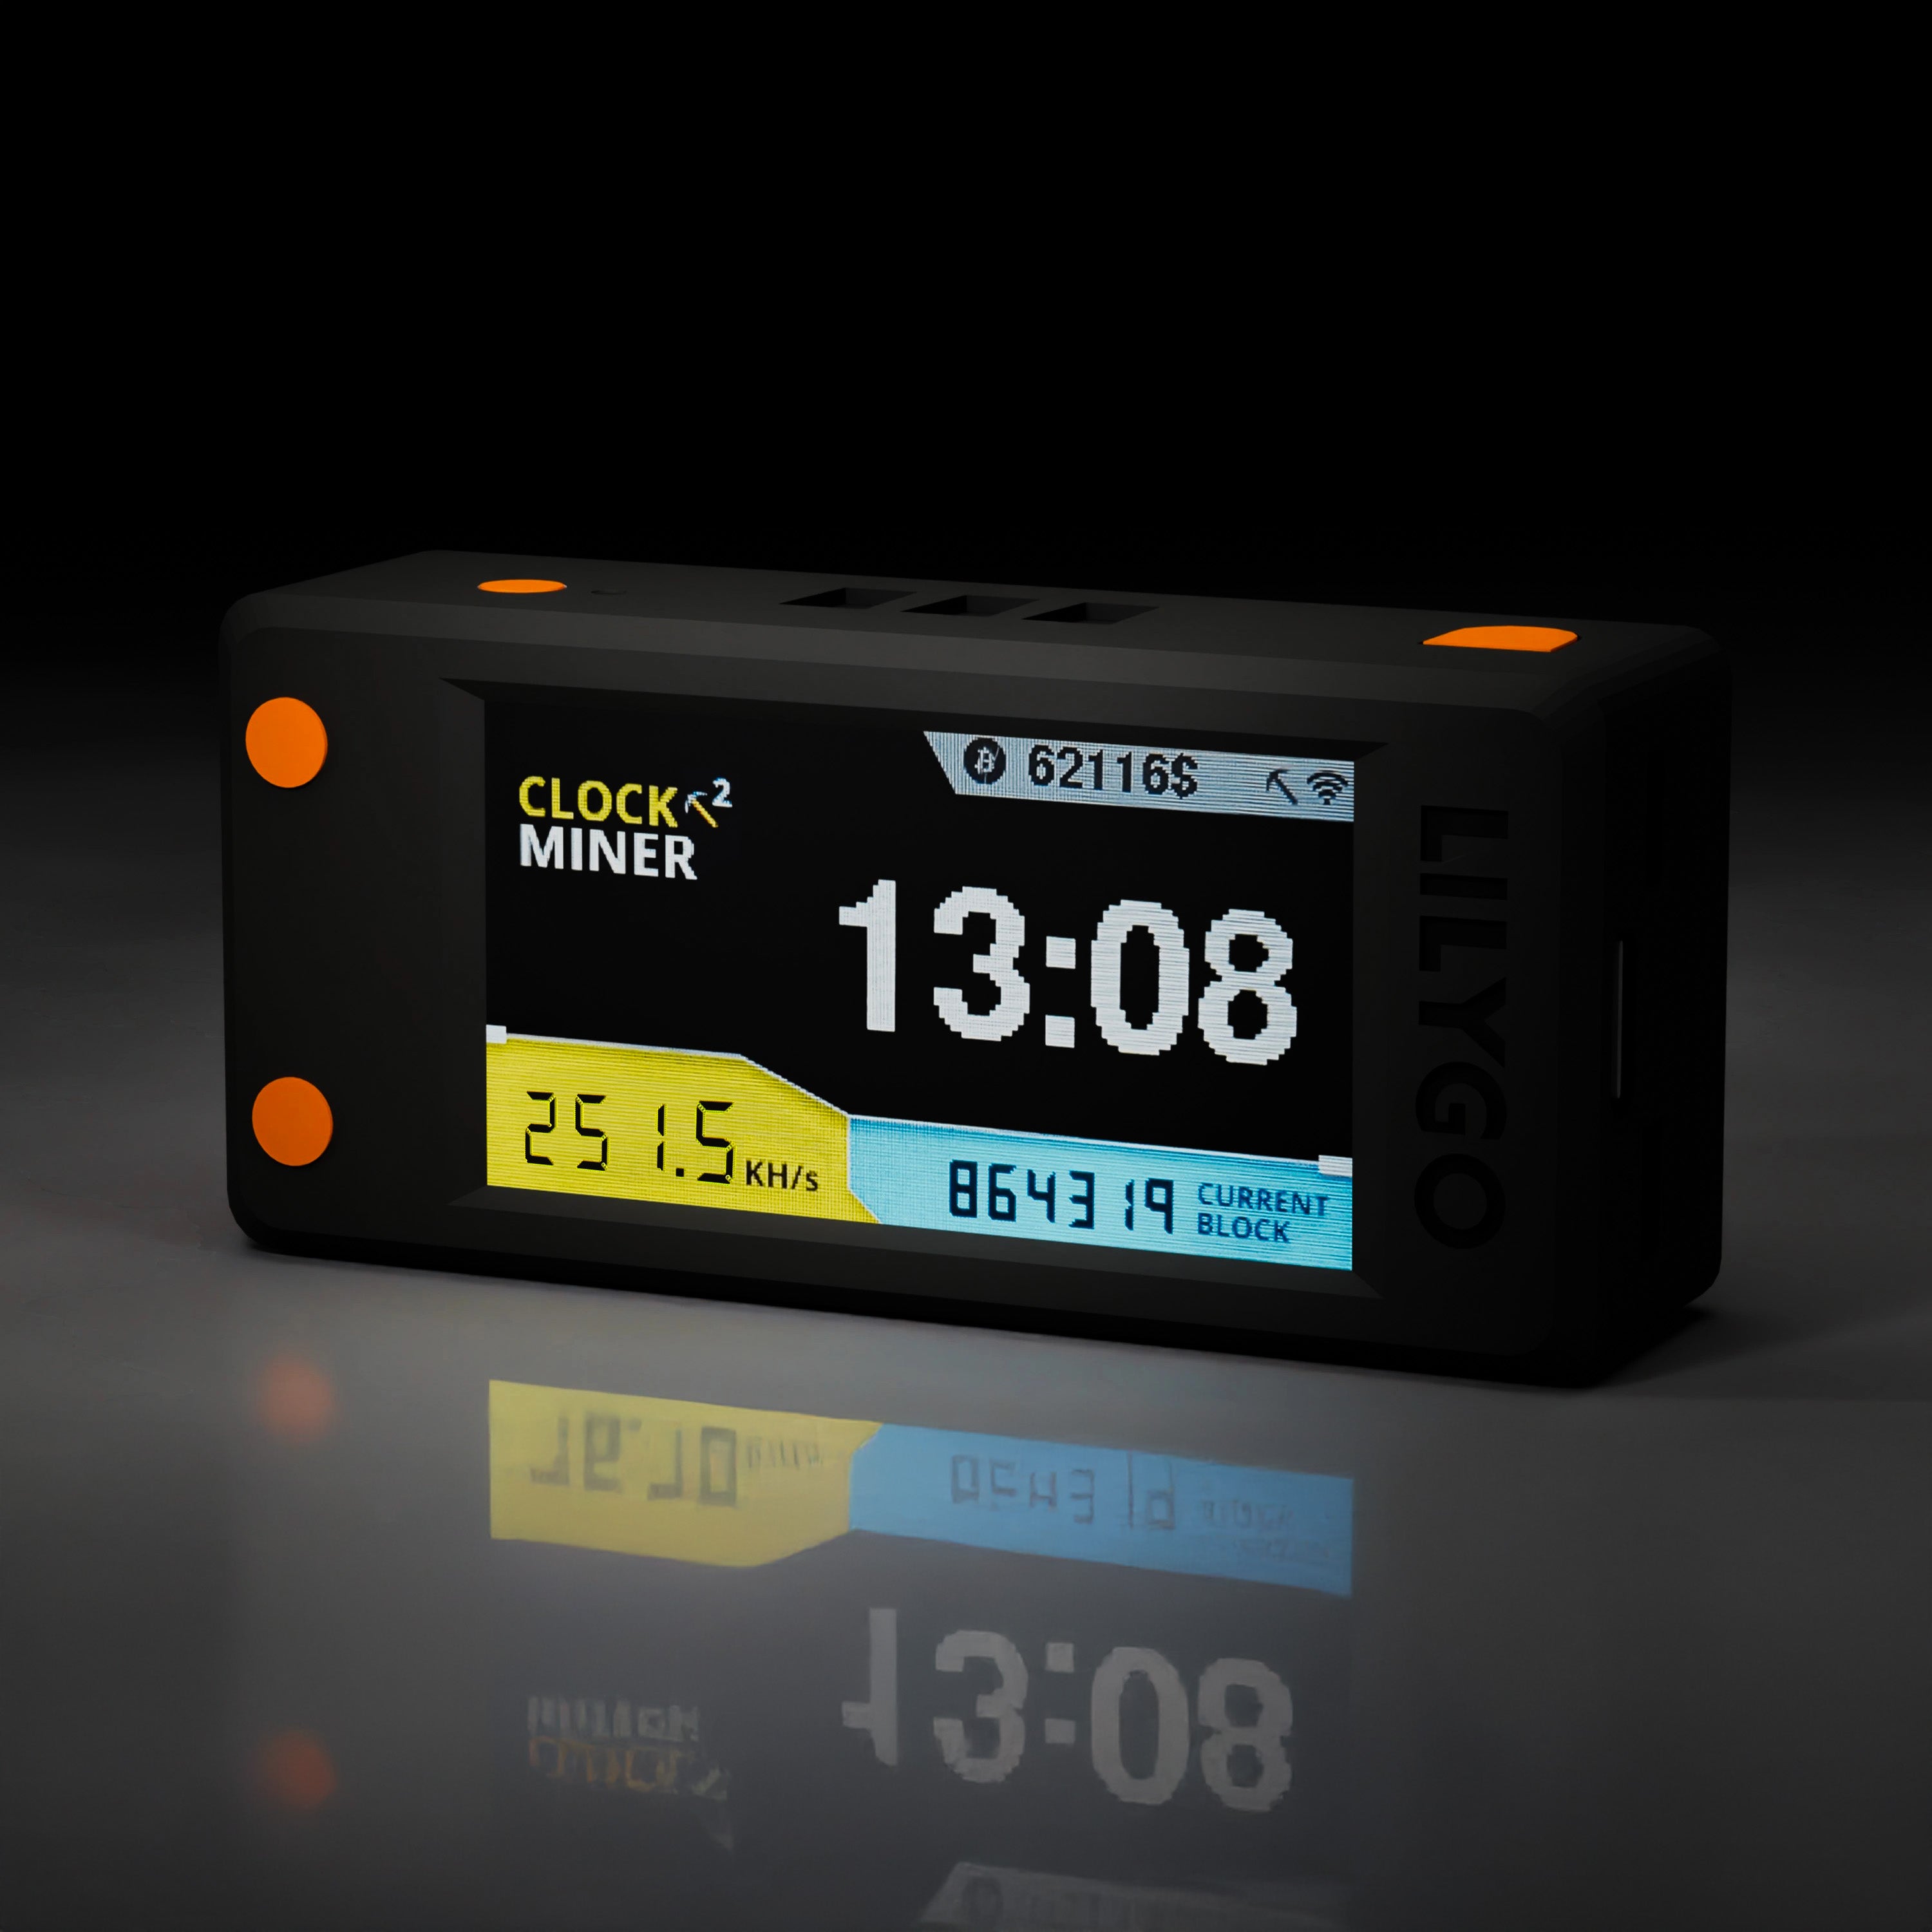


Share: